How to Draw an Apron: A Step-by-Step Guide
Drawing is much more than a simple pastime: it is a skill that expresses creativity and nourishes the mind. It lets you explore new horizons, learn new skills and interact with the world in a unique way. Today, we are going to focus on one specific subject: how to draw an apron. This garment, often associated with cooking or gardening, is an interesting subject to depict, both for its symbolism and for its distinctive details. So grab your pencil and follow along!
Understanding the Apron
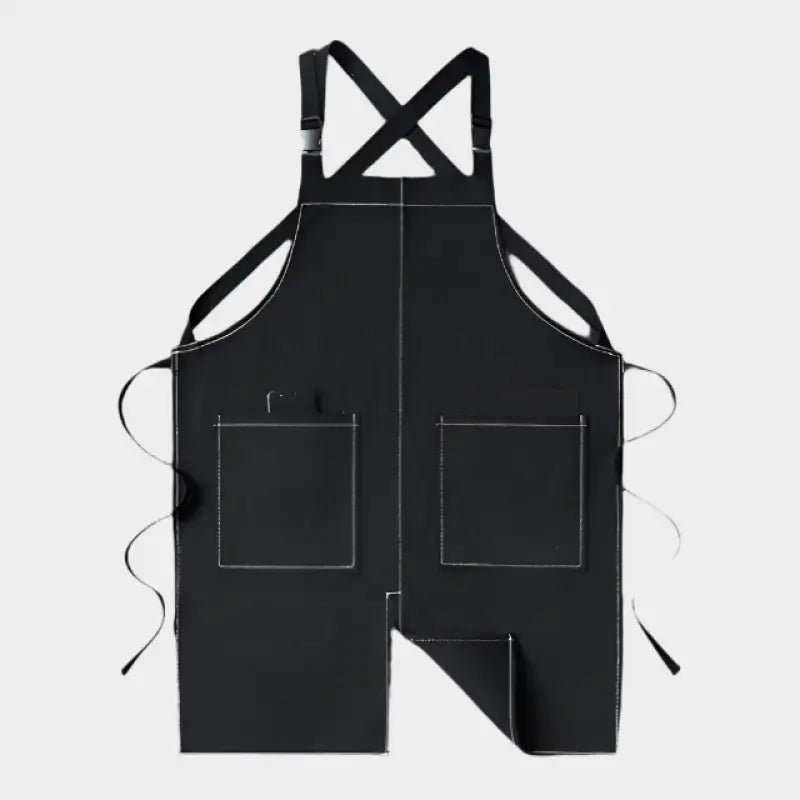
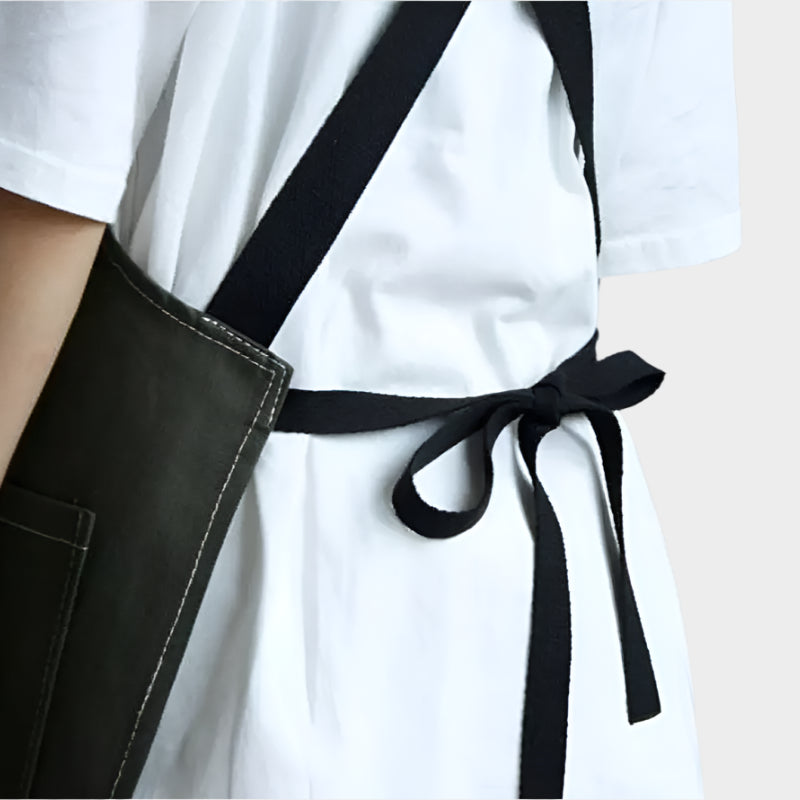
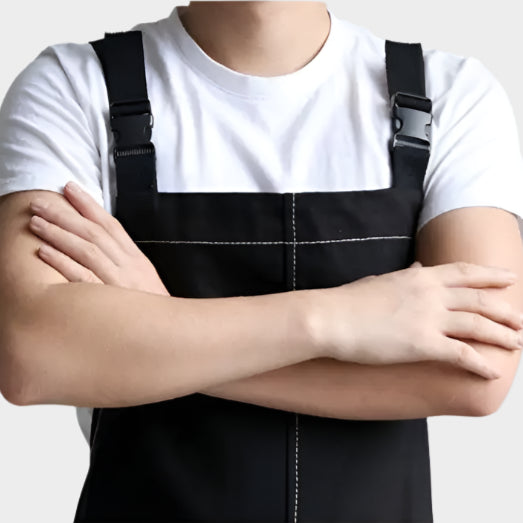
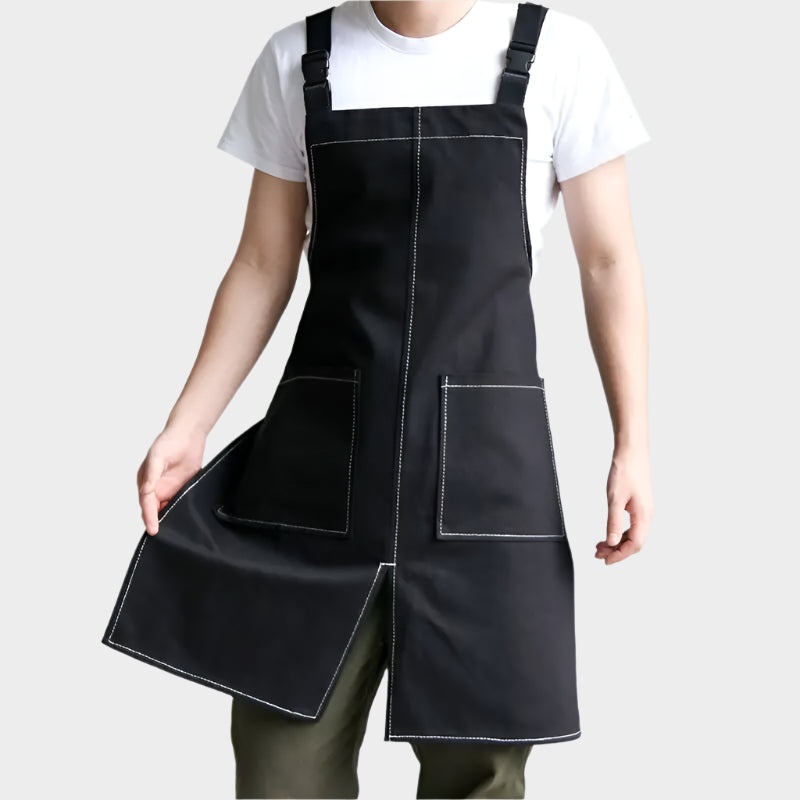
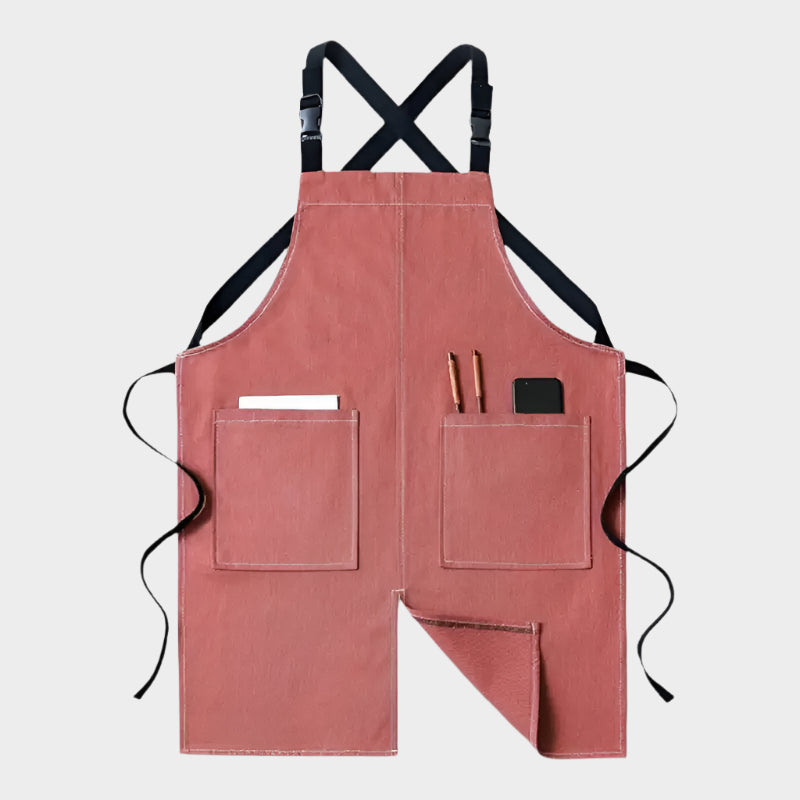
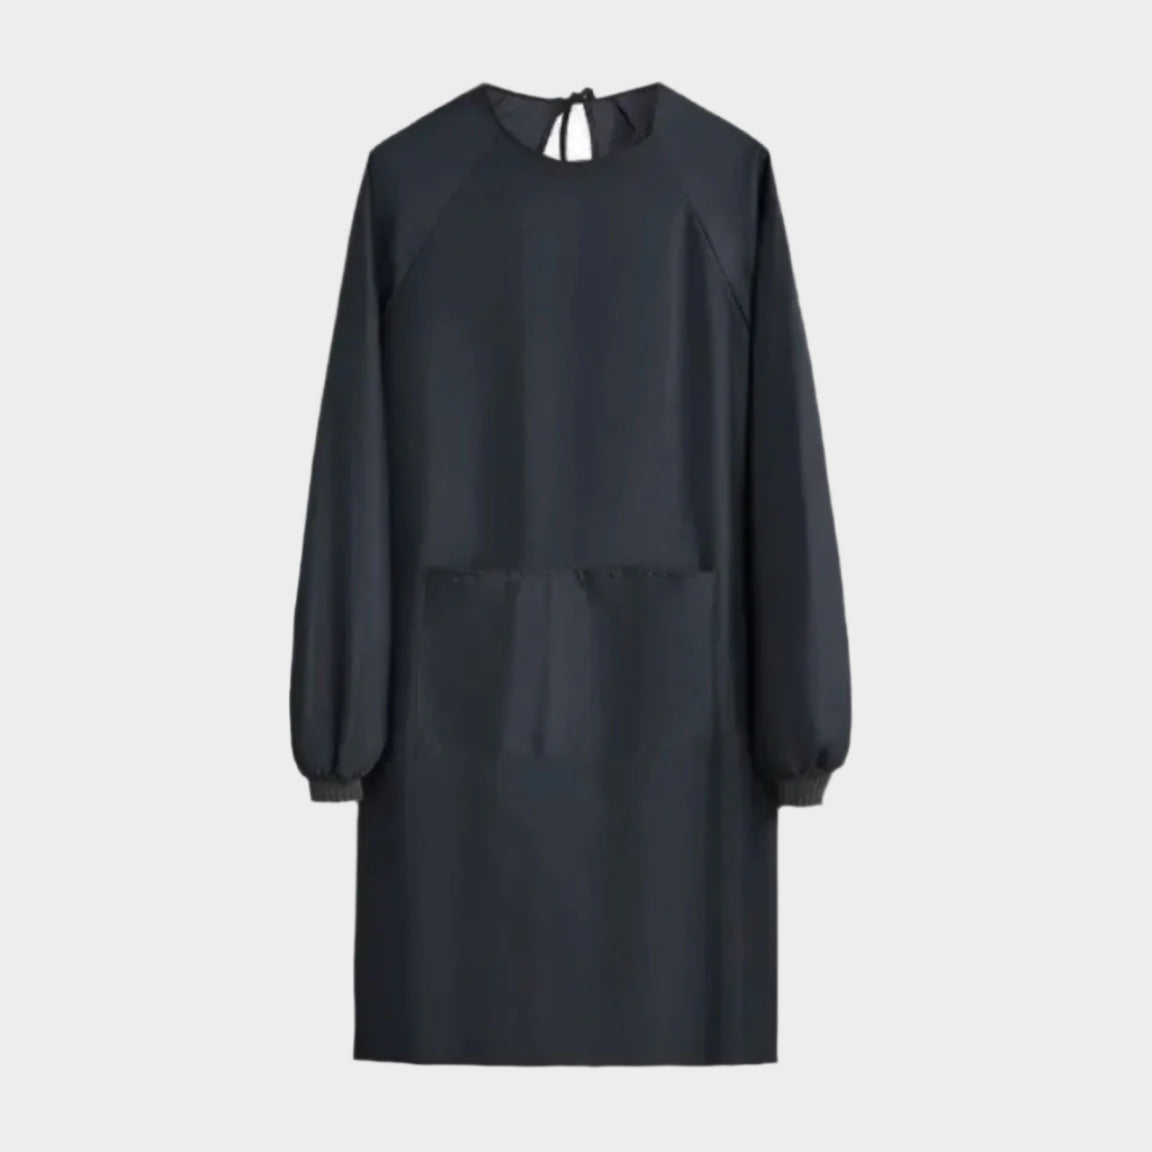
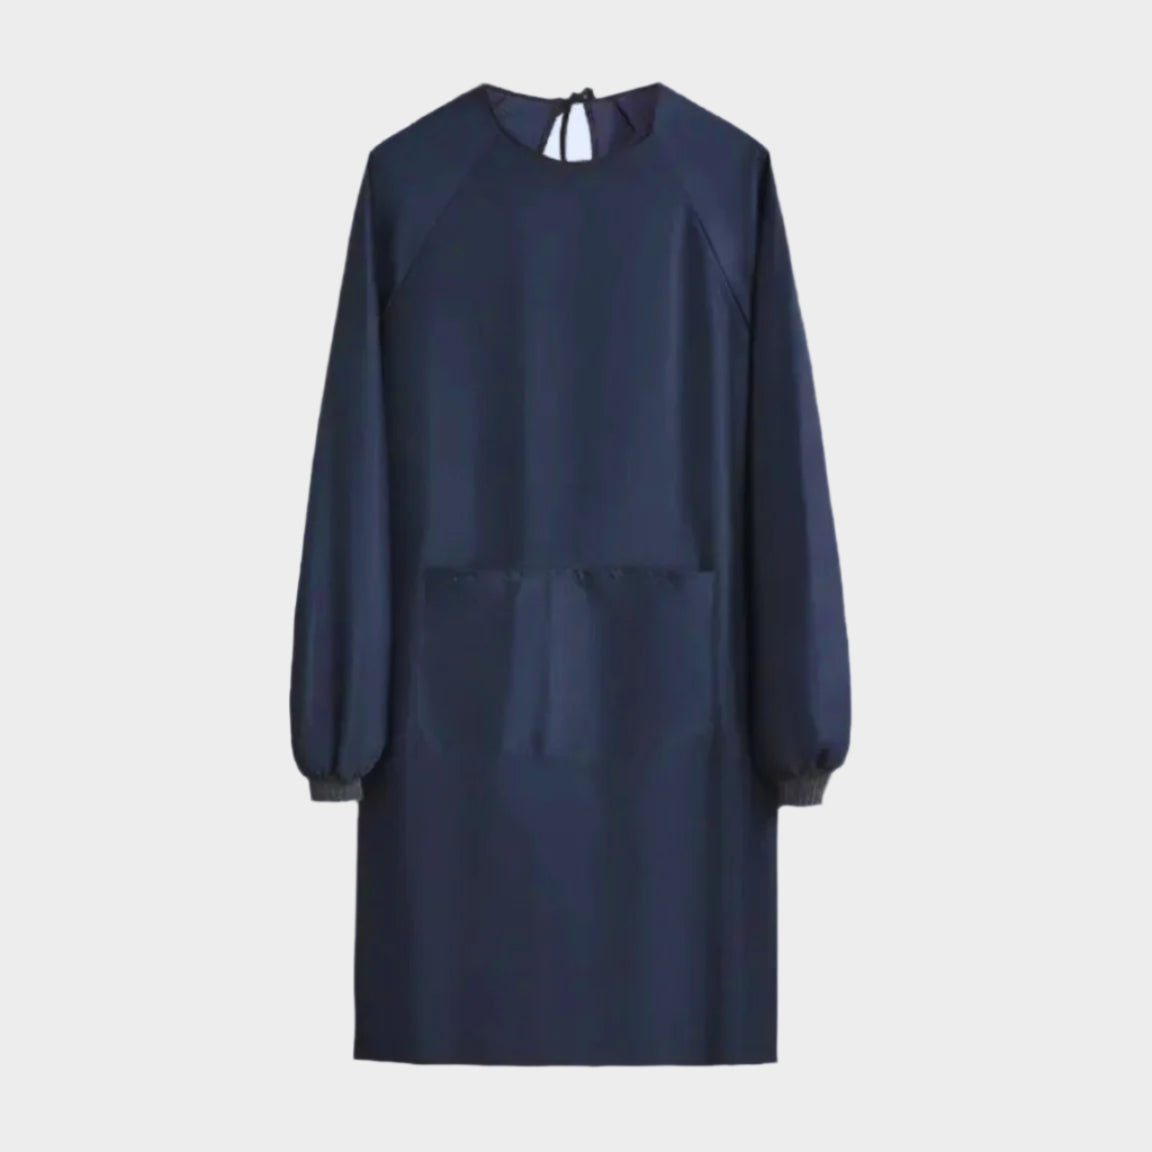
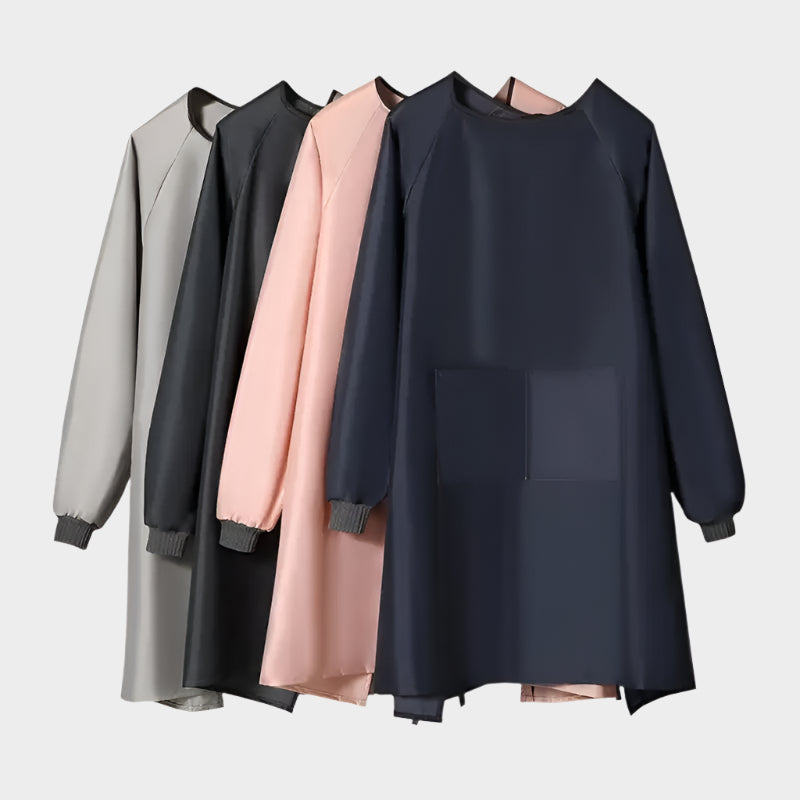
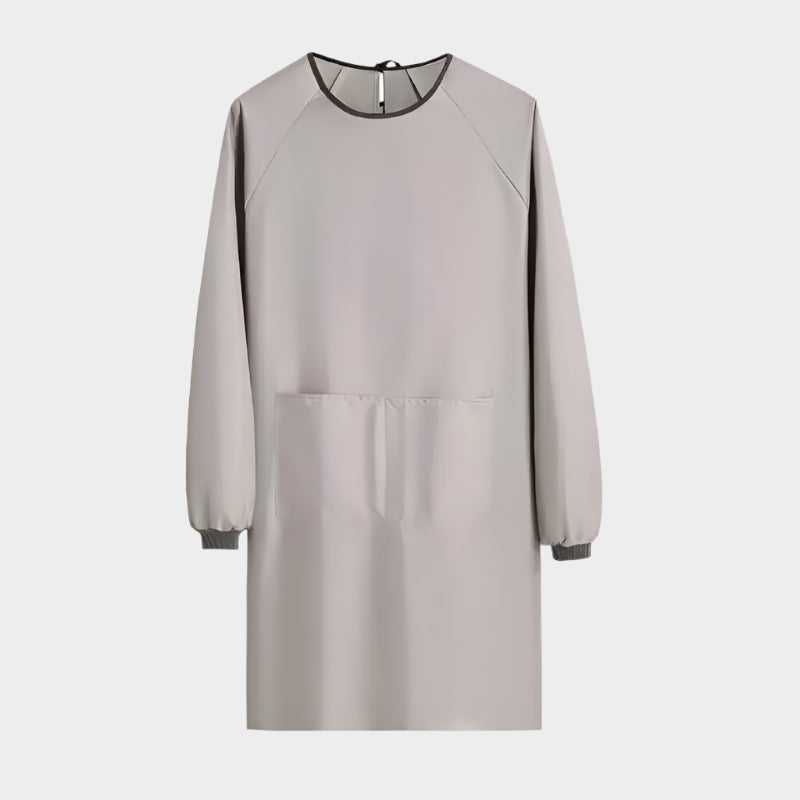
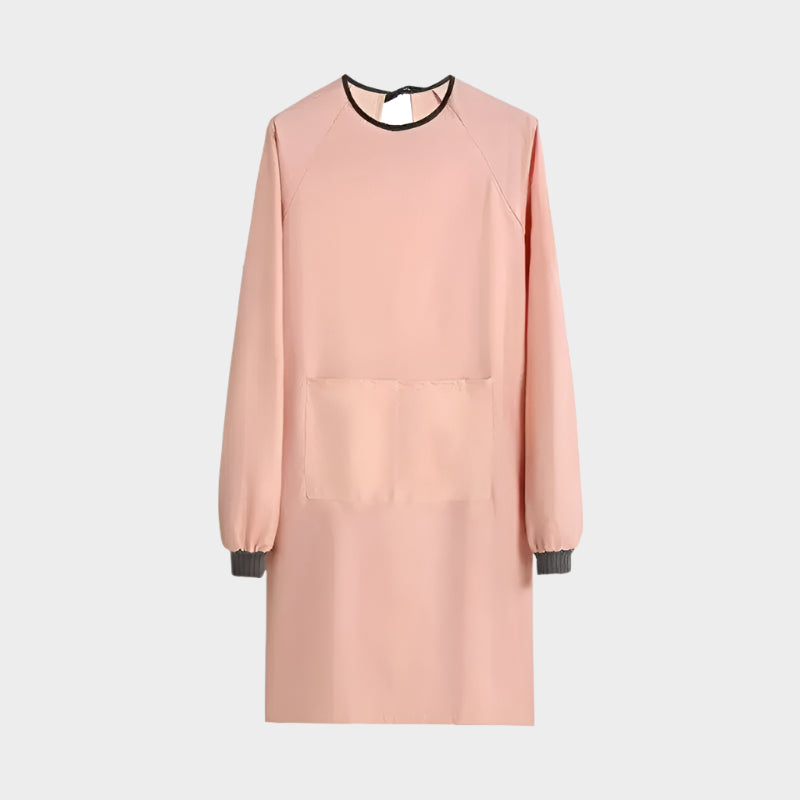
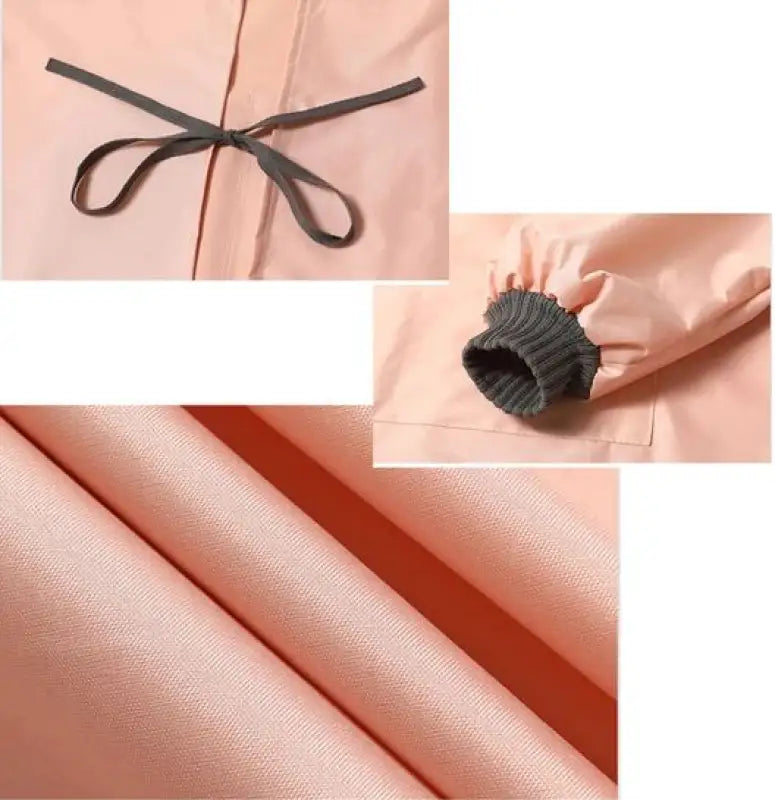
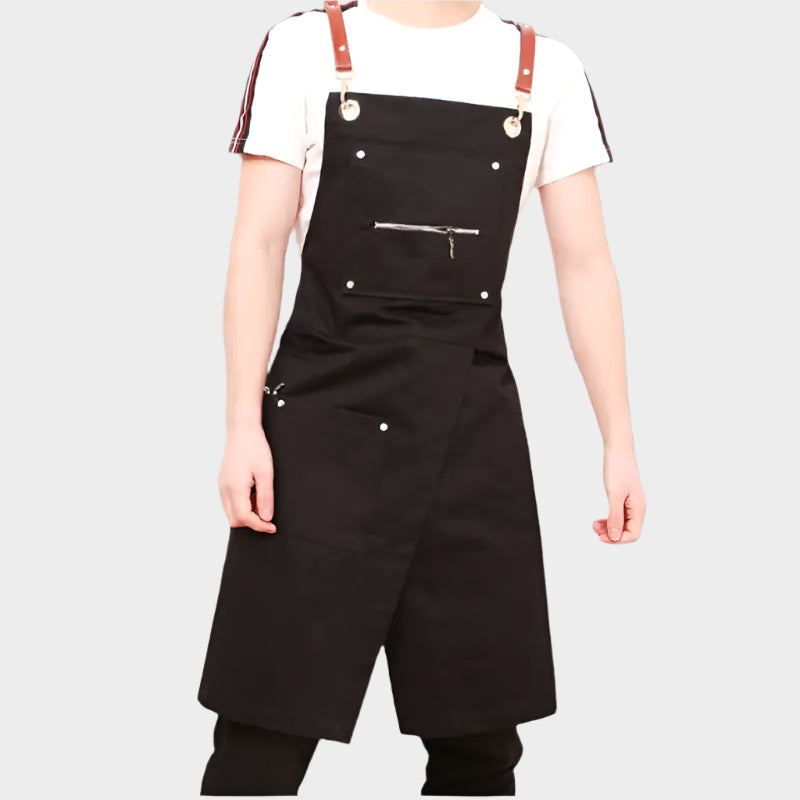
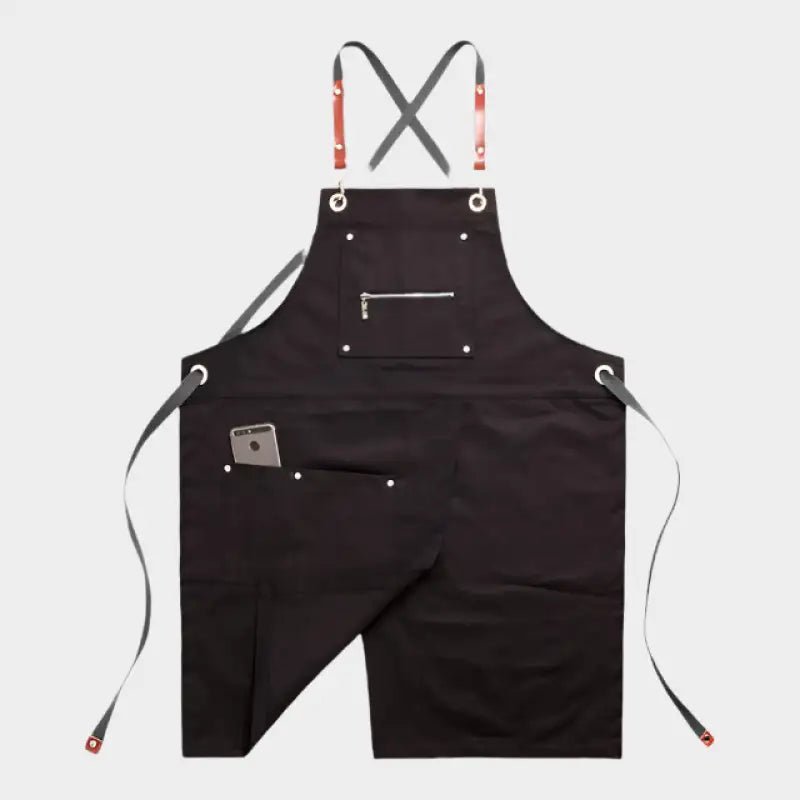
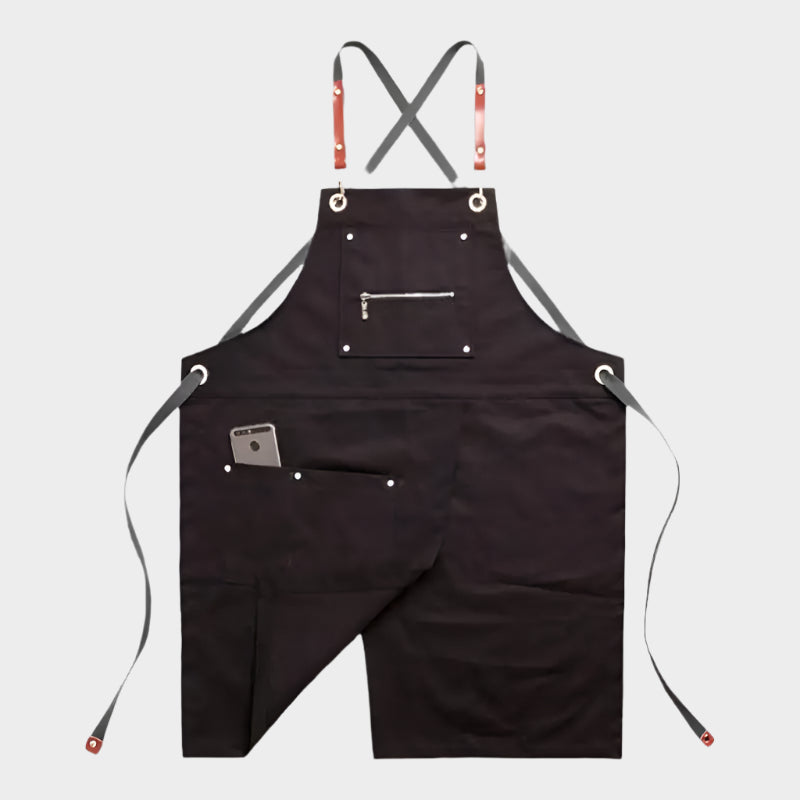
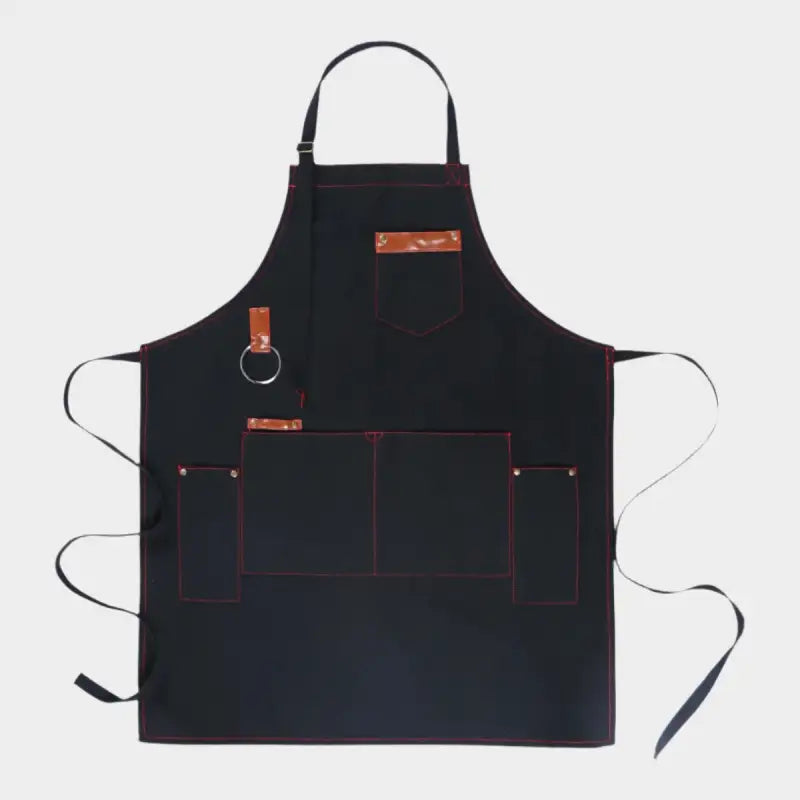
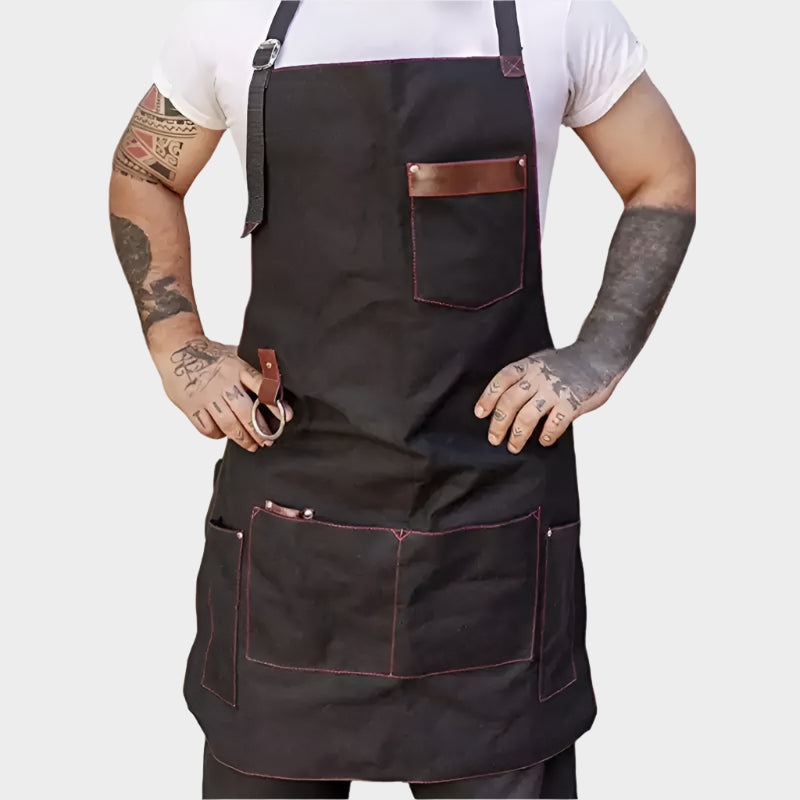
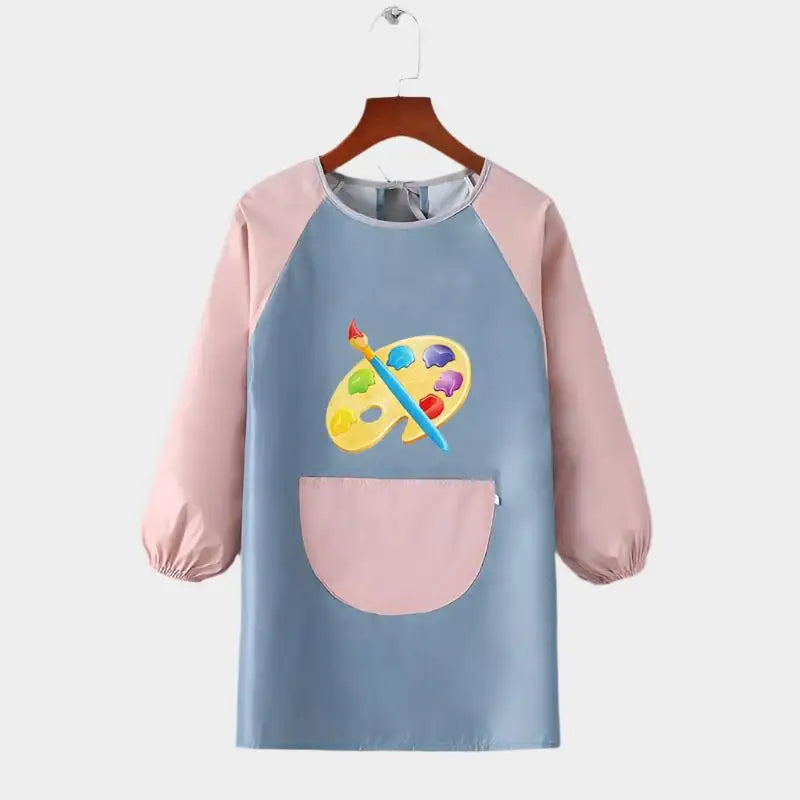
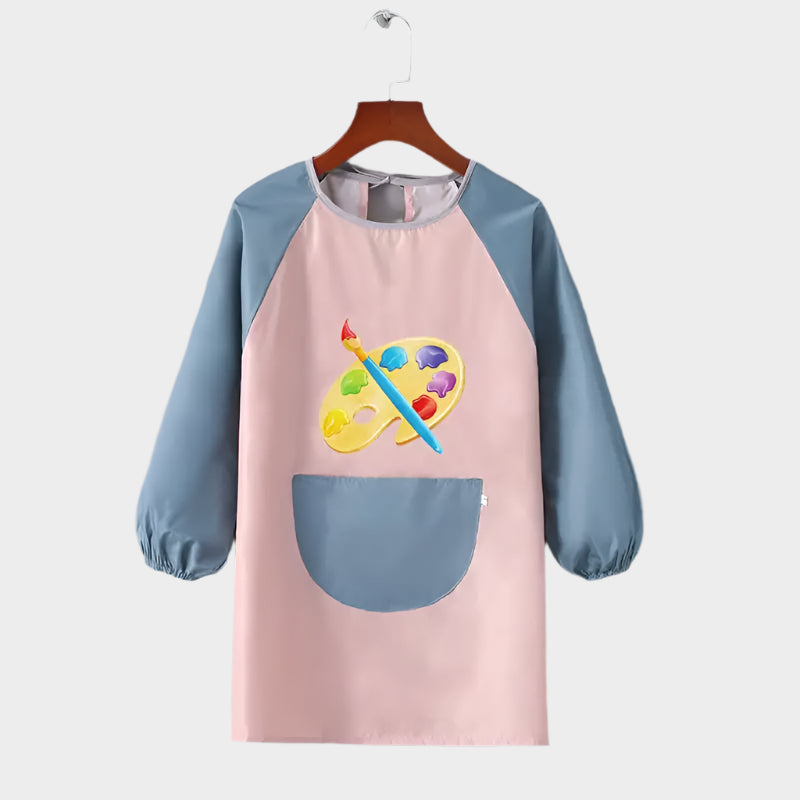
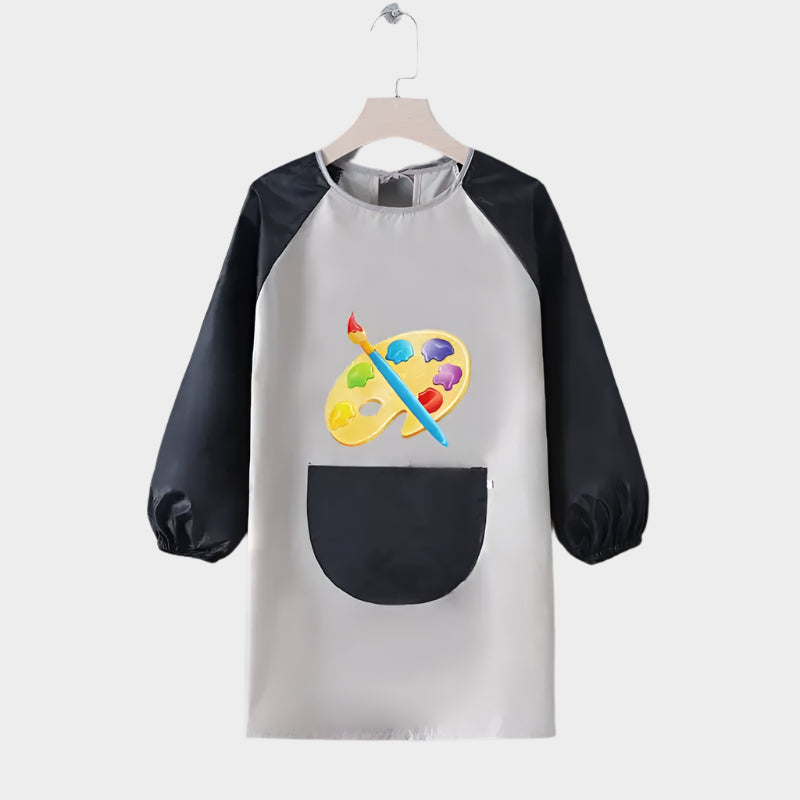
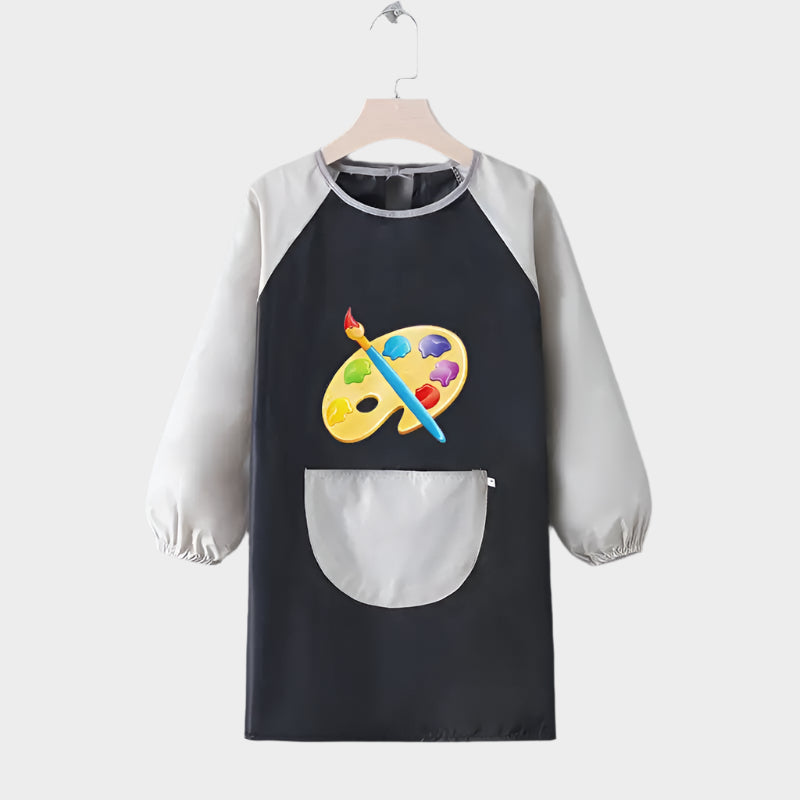
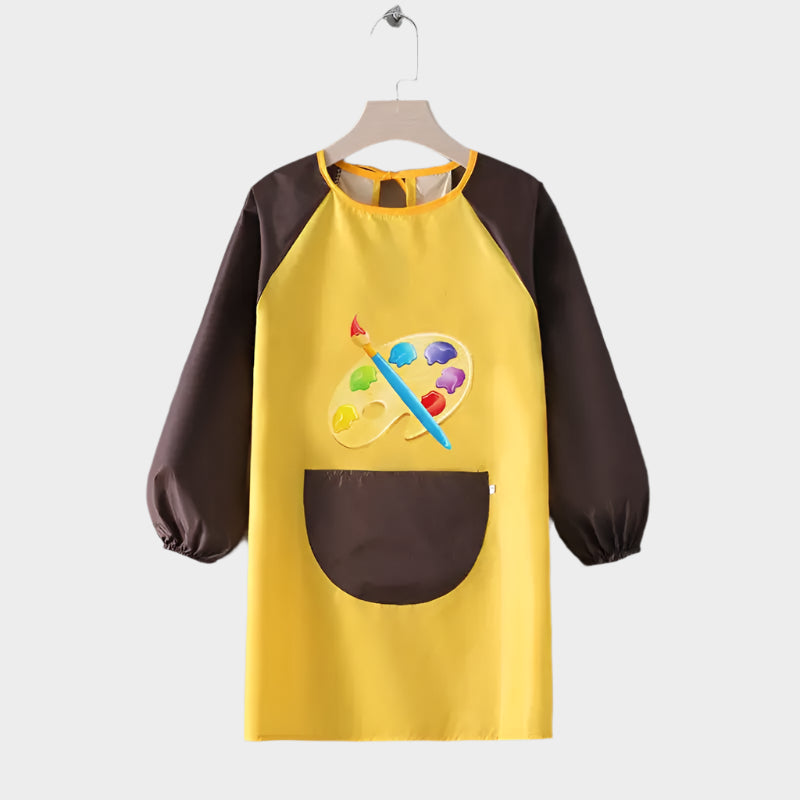
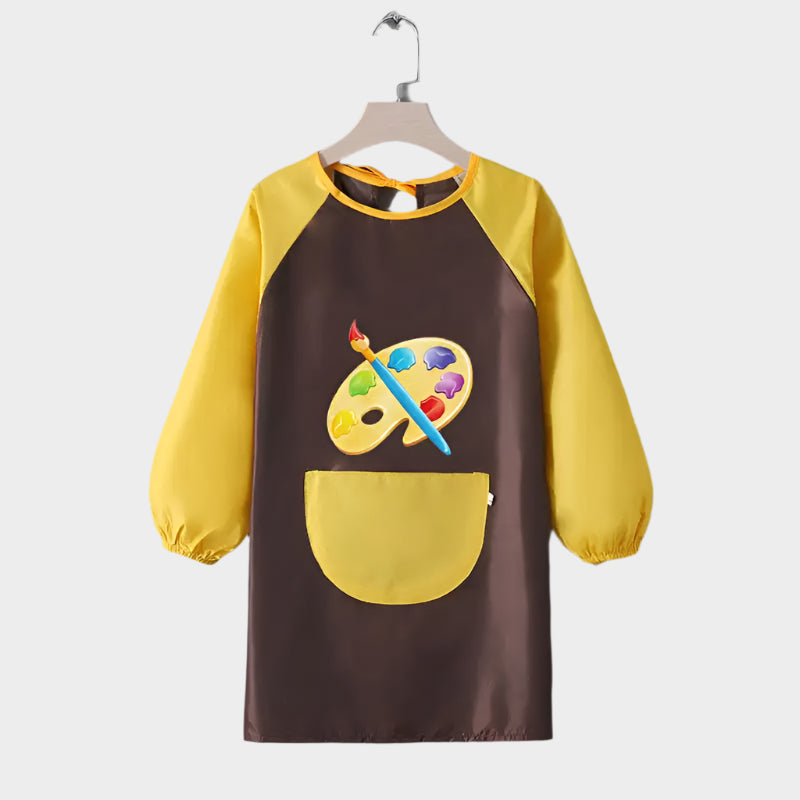
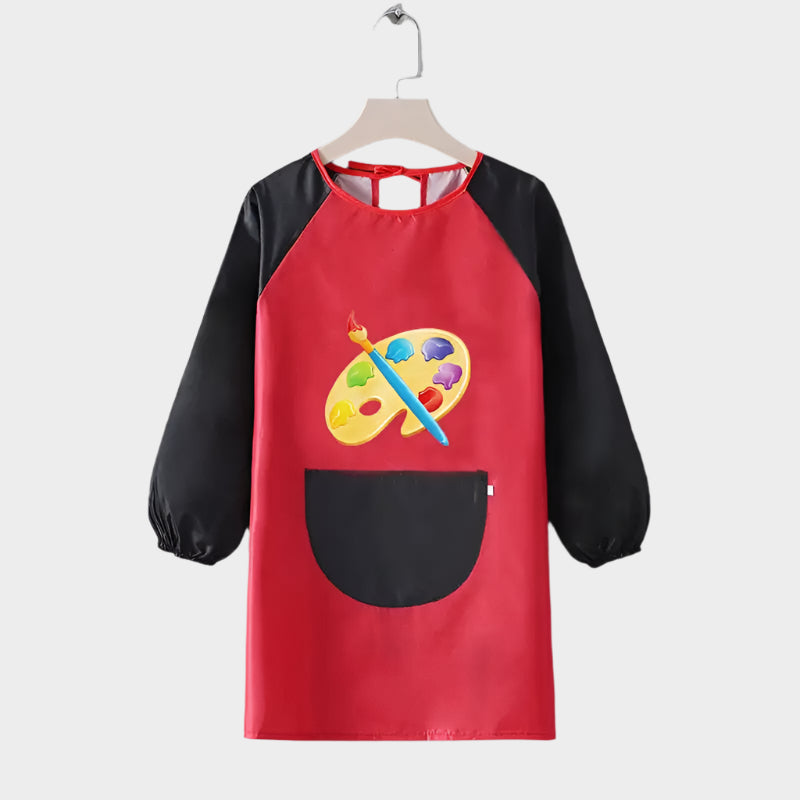
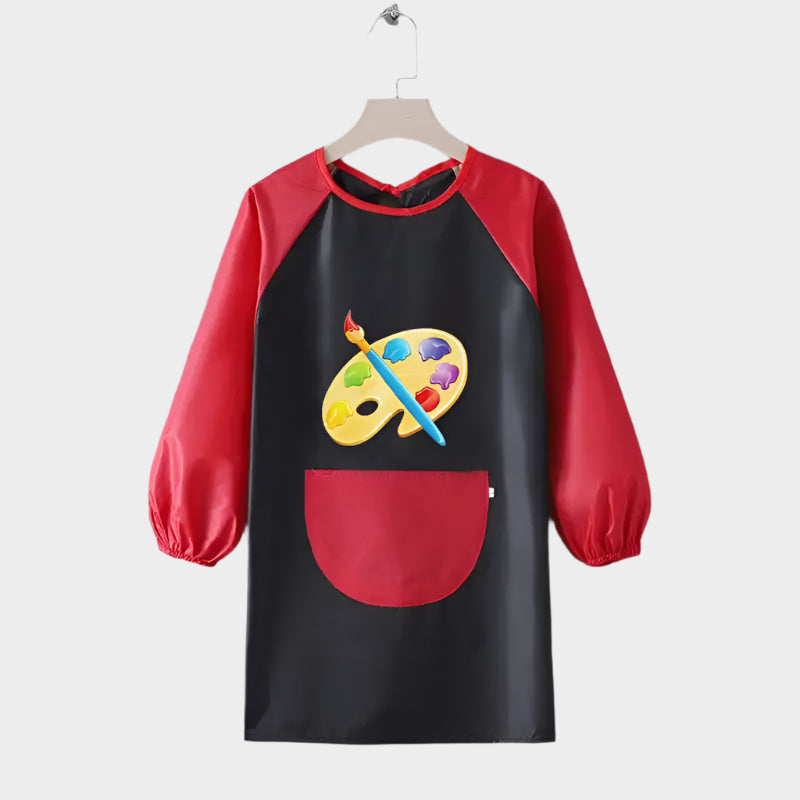
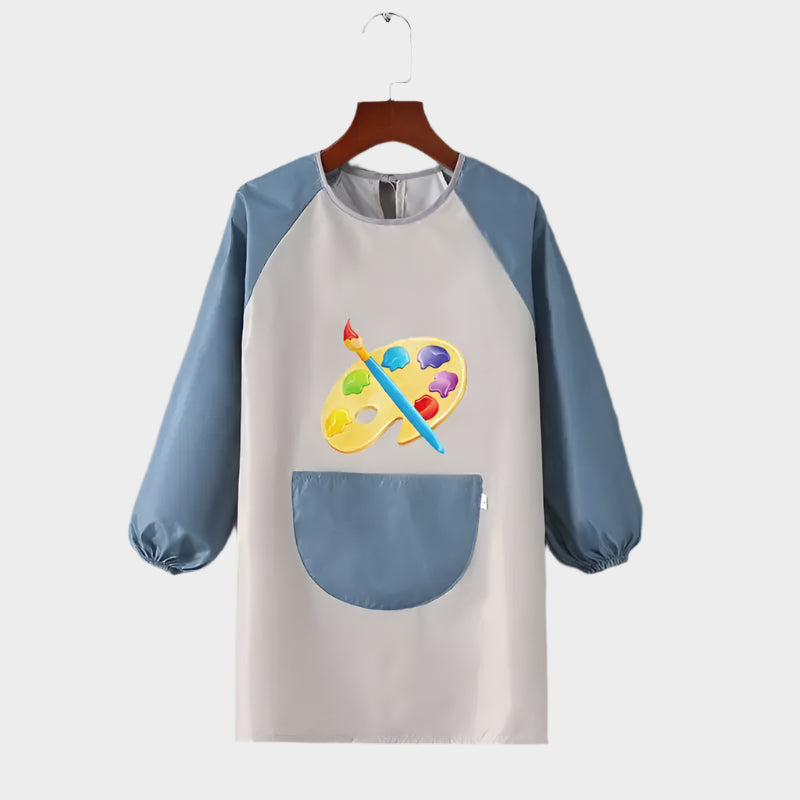
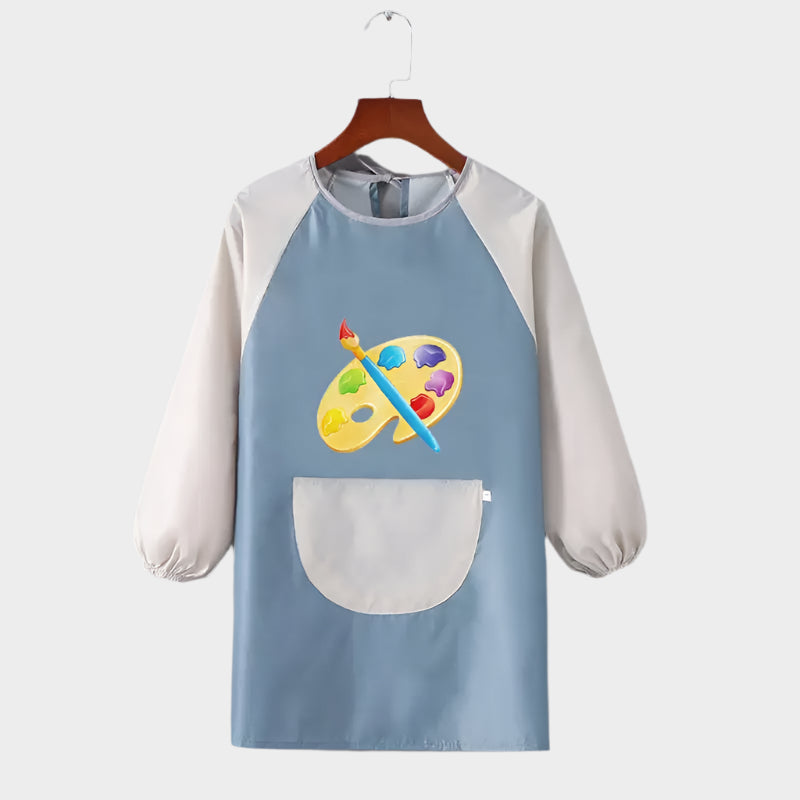
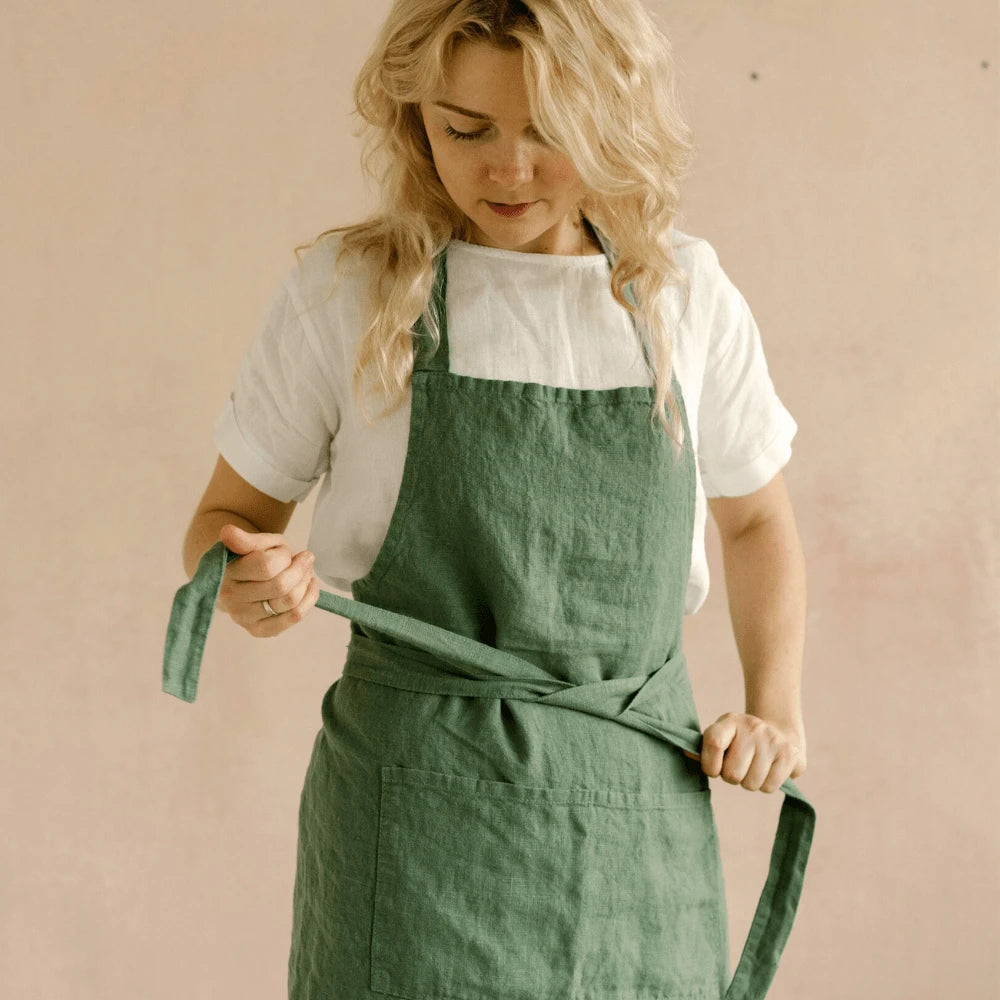
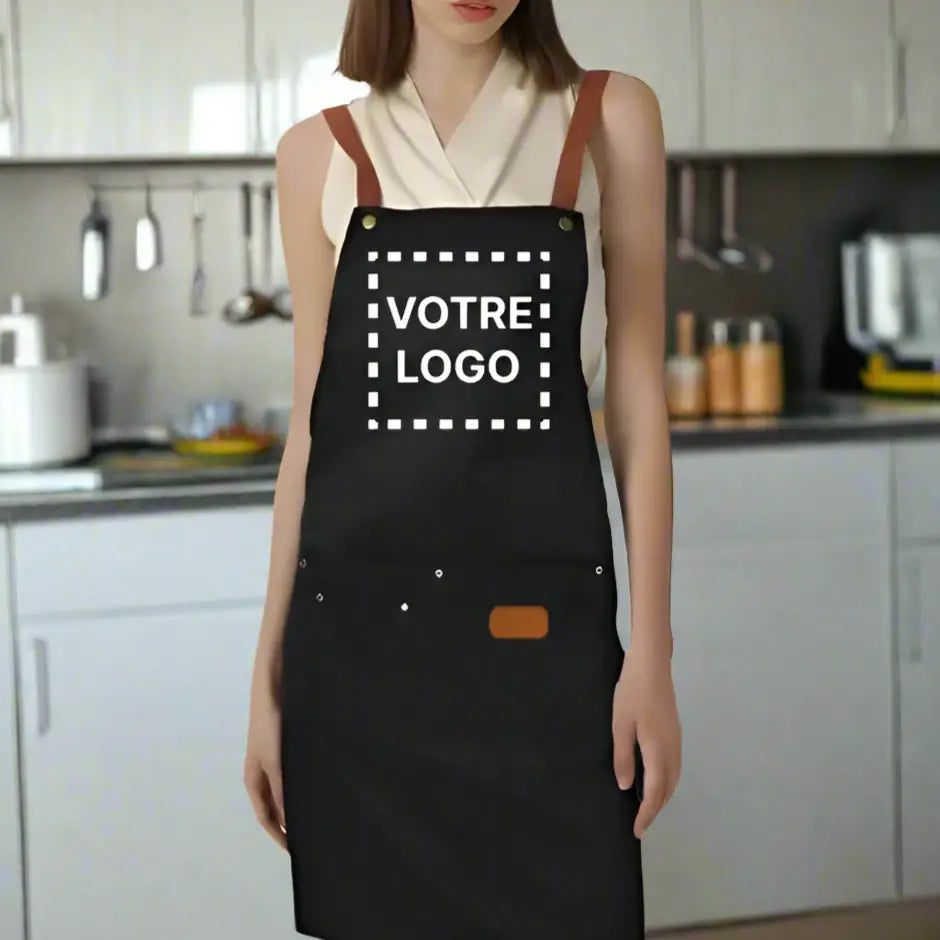
Before you start drawing, it is essential to understand the object you are focusing on. An apron is a protective garment that mainly covers the front of the body. It can be tied around the neck or cover the entire torso. It often has straps or ties that are knotted at the back. Many aprons also have pockets for storage. An apron can be made from different materials, such as cotton, linen, plastic and more, and can be plain or patterned.
Drawing an Apron: The Steps
Step 1: Sketch the Basic Shape
Start by drawing the basic shape of the apron. Think of a rectangle for the body of the apron and oval shapes for the ties. If the apron has a part that fastens around the neck, sketch another oval shape for it. Make sure the overall shape is fairly fluid and not too stiff, to reflect the soft nature of the fabric.
Step 2: Add the Details
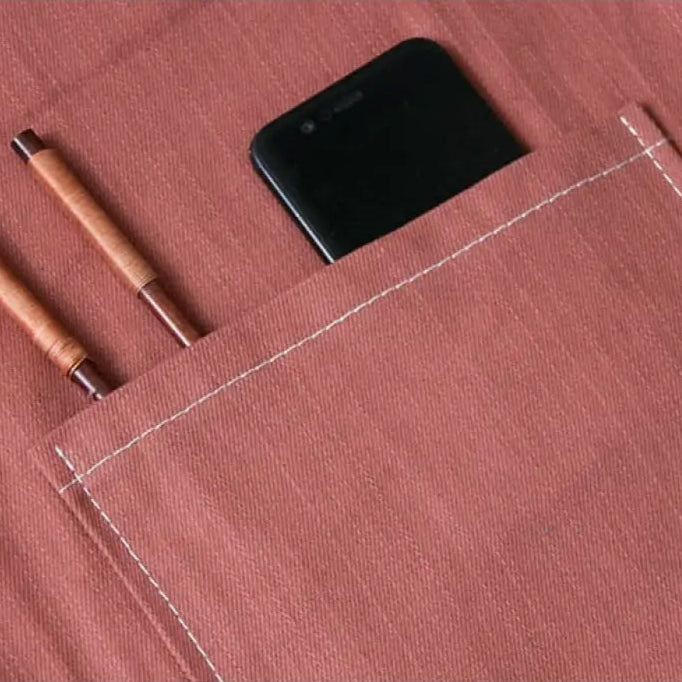
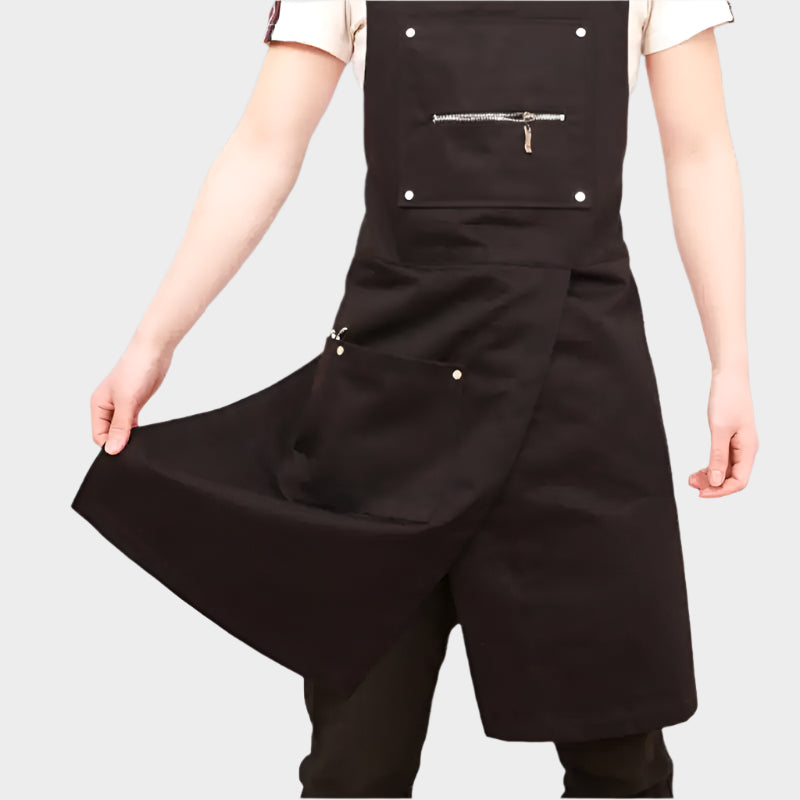
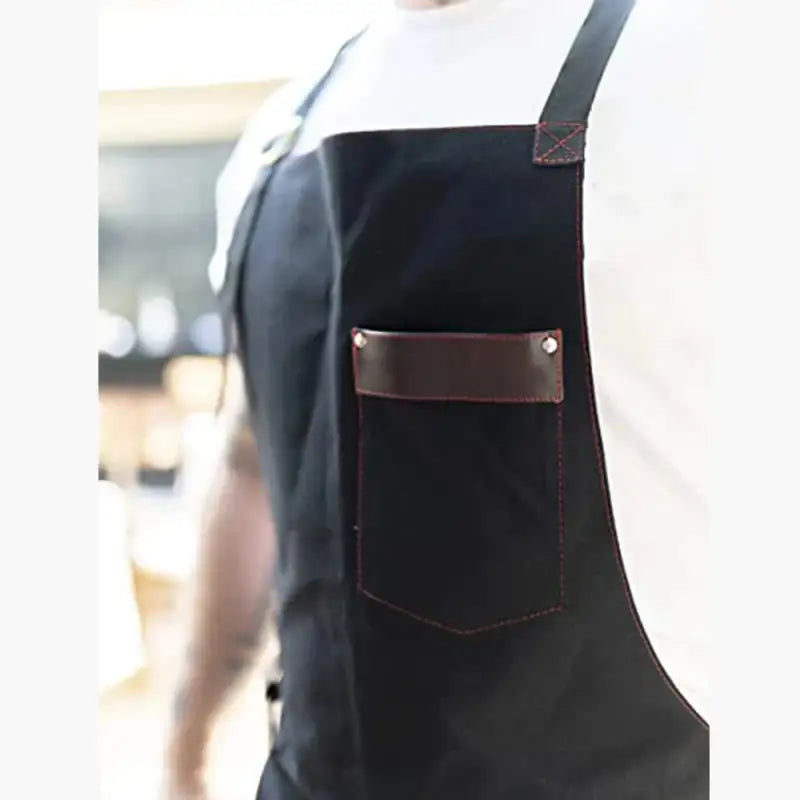
Next, add the details of the apron. These can include pockets, patterns on the fabric, folds, buttons, embroidery and more. For the pockets, draw rectangles or squares on the body of the apron. For the patterns, you can use simple geometric shapes or draw more complex designs depending on your skill level.
Step 3: Refine the Drawing
Once you have added the details, it is time to refine your drawing. This means erasing unnecessary lines and adjusting the proportions if needed. You can also add shading to give depth and realism to your drawing.
Practical Tips for Drawing an Apron
- Observe and practise: Drawing is a skill that improves with practice. Look at the different types of aprons in real life and try to draw them.
- Pay attention to detail: Details make all the difference in a drawing. Take the time to properly depict the folds of the fabric, the patterns and the other details of the apron.
- Use fluid lines: An apron is a garment, so it should look fluid and soft. Avoid lines that are too straight or stiff.
- Experiment with light and shadow: Using light and shadow wisely can add depth to your drawing and make it more realistic.
The Benefits of Drawing
Drawing is not just a useful skill, it is also a great way to relax and relieve stress. It can even help you improve your concentration and your ability to notice details. Whether you are a beginner or an experienced artist, remember to enjoy the creative process.
Conclusion
Drawing an apron may seem like a challenge, but with the right steps and practical tips, you can create an accurate and detailed drawing. Remember, the key is to practise regularly and to observe your subject carefully. Feel free to experiment with different techniques and styles to find what works best for you. So grab your pencil and paper, and start drawing!
Drawing an apron can be a good exercise for understanding its structure and design. Once you have mastered this skill, you might want to go one step further and learn to sew your own apron. To do so, check out our article How to Sew a Kitchen Apron. For more inspiration, visit our collection of Men's Aprons.