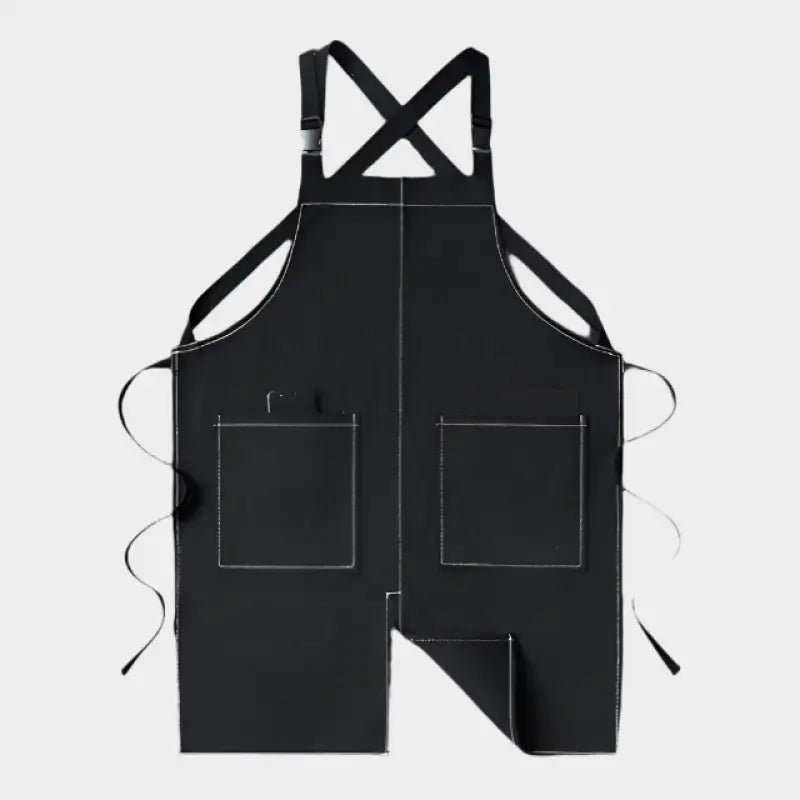
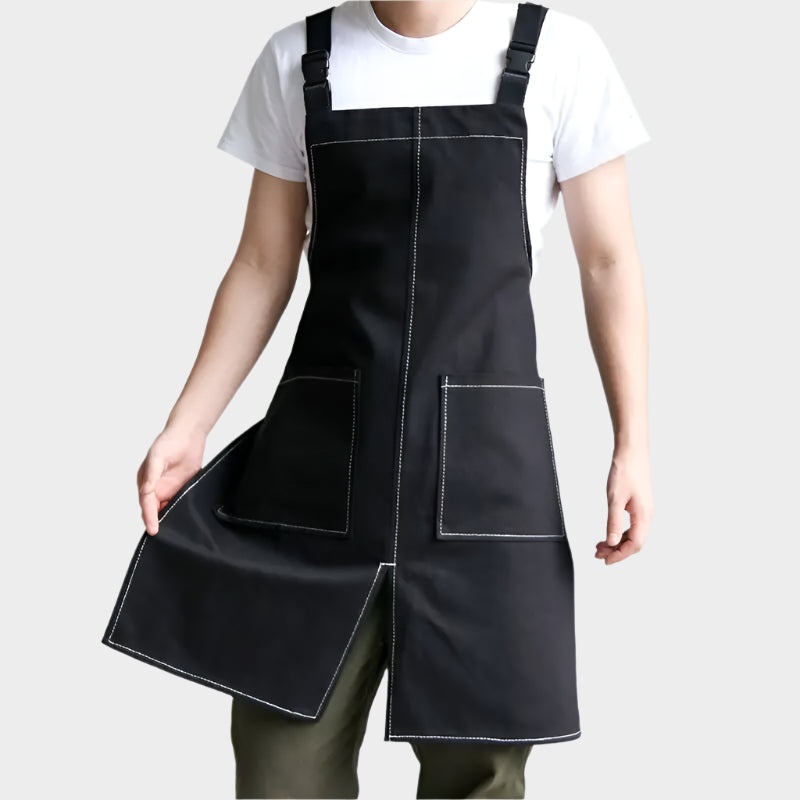
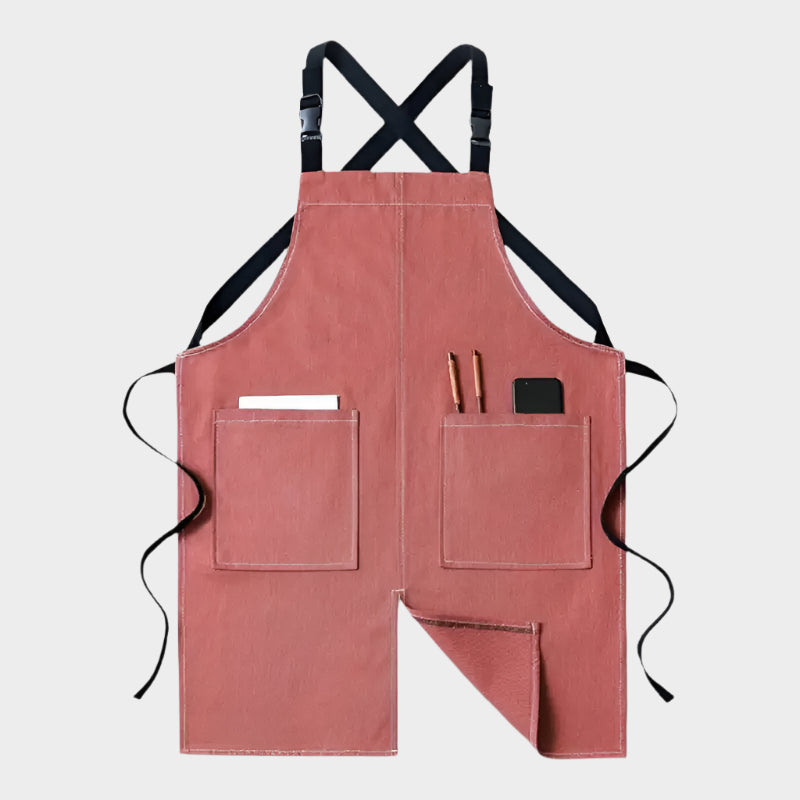
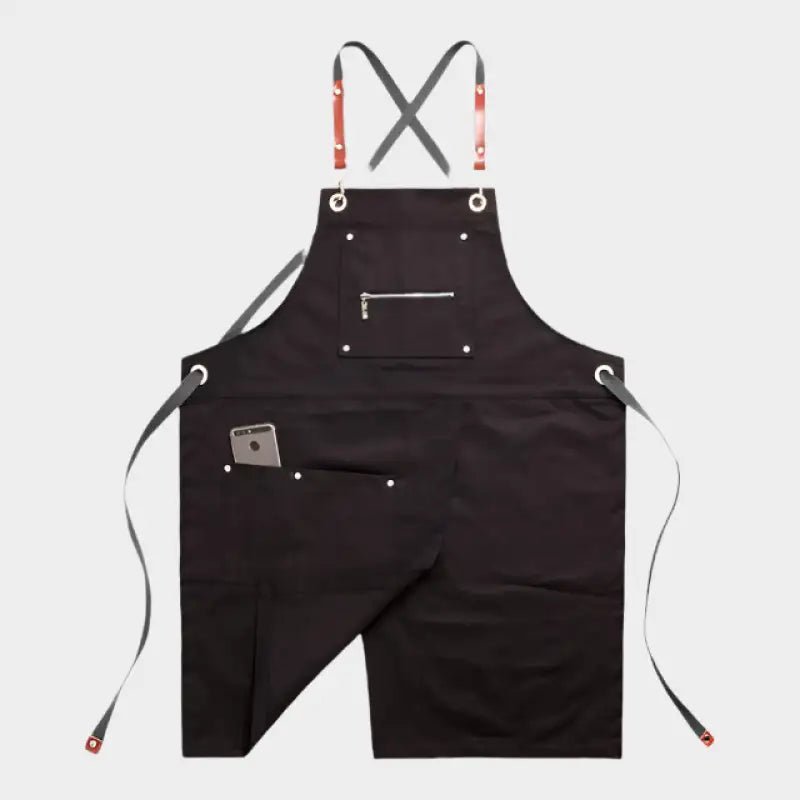
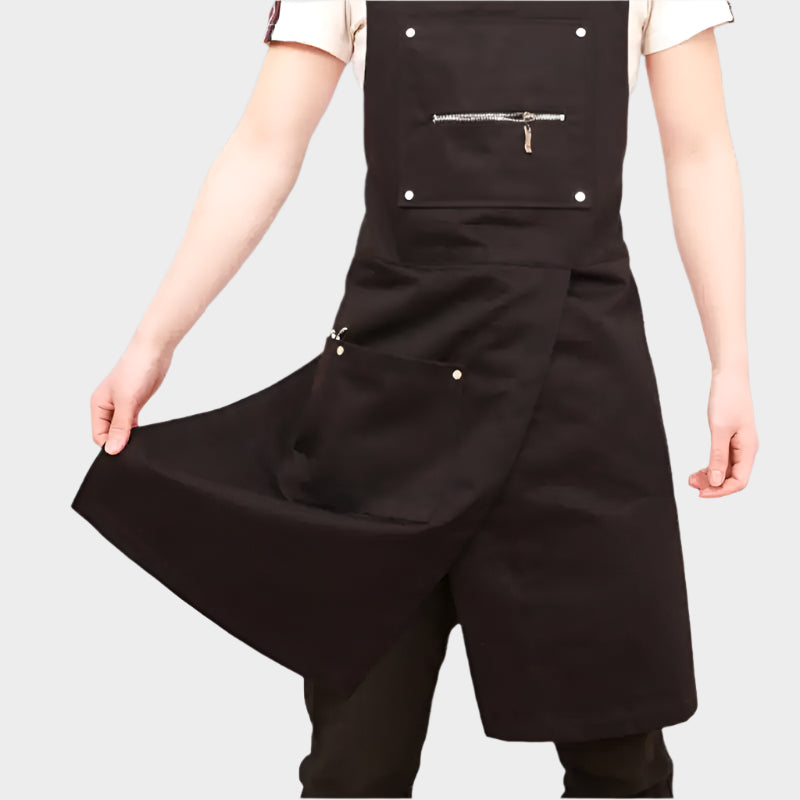
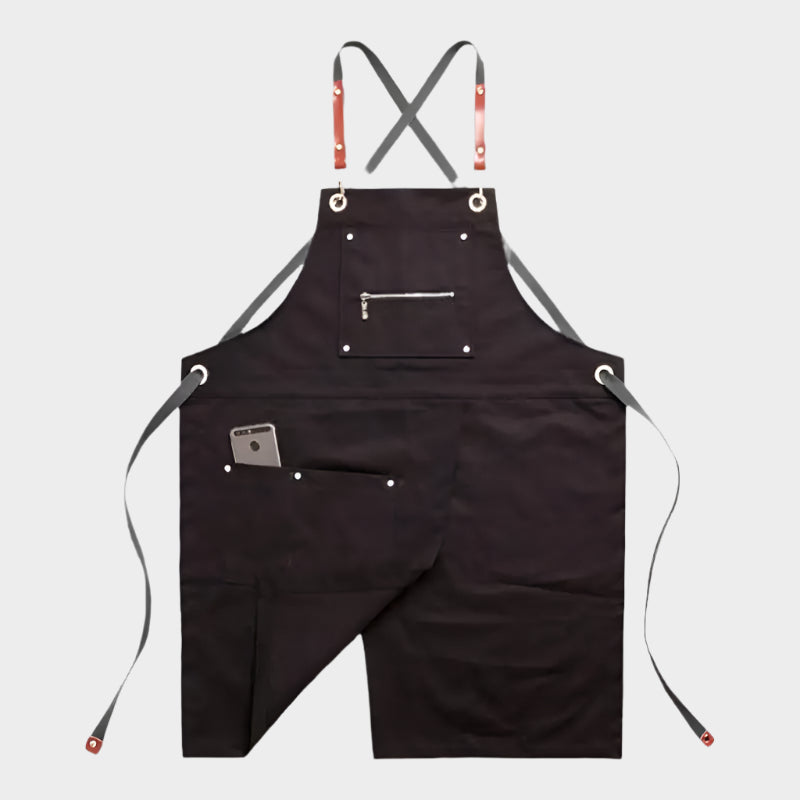
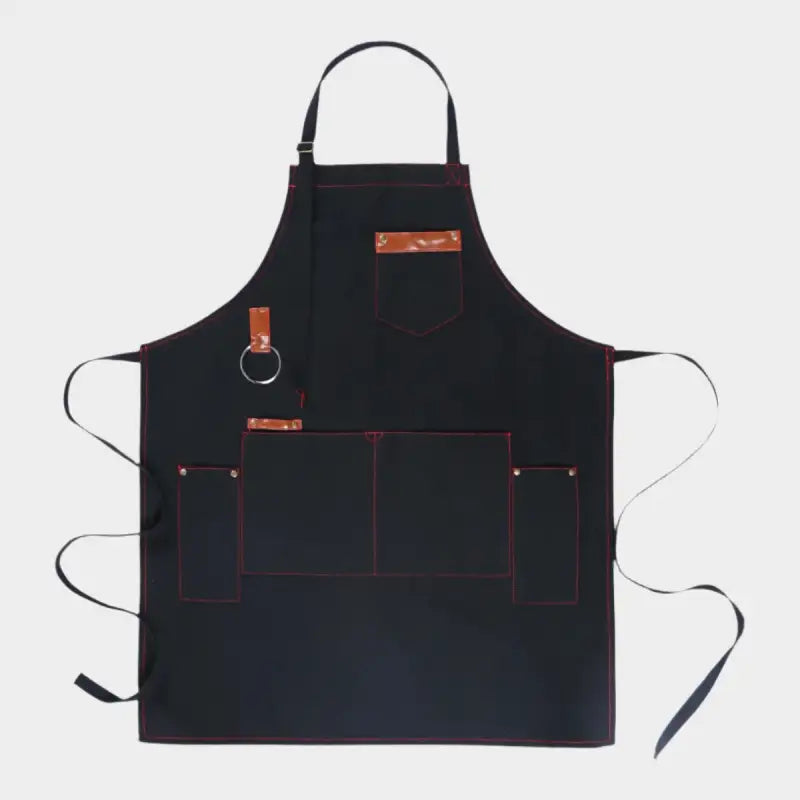
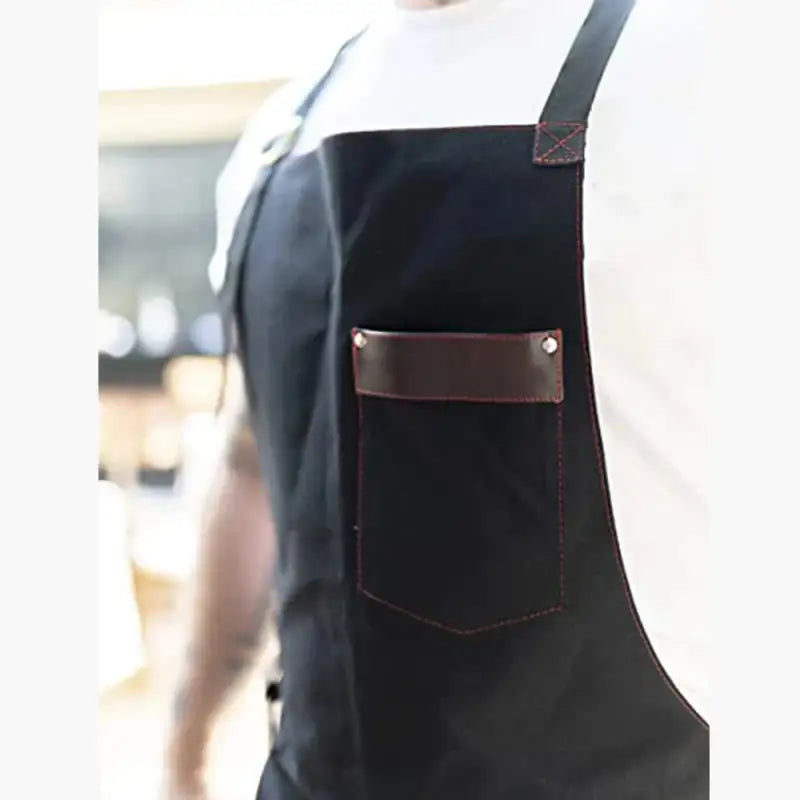
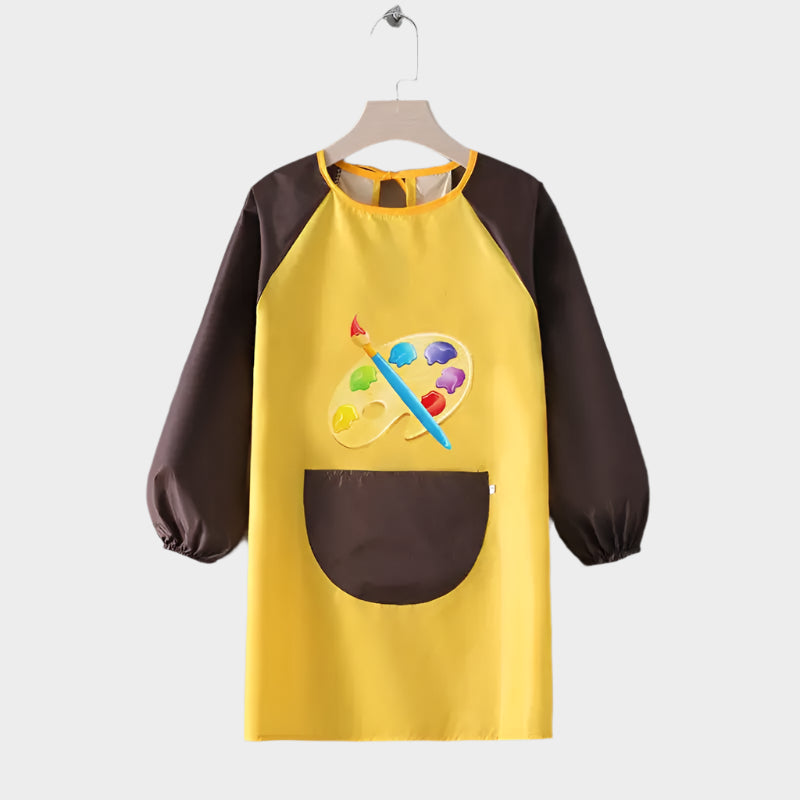
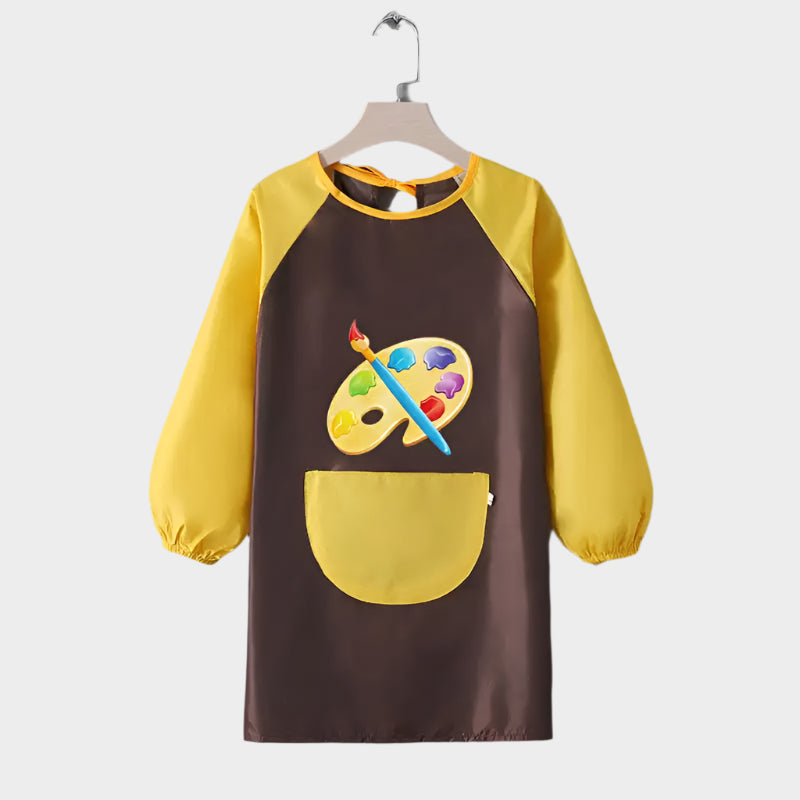
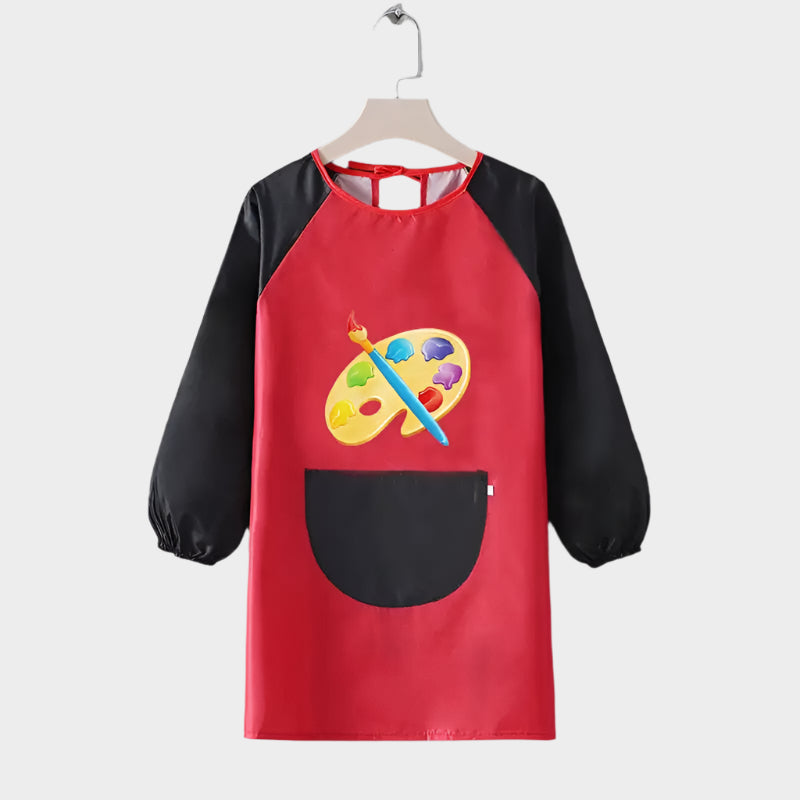
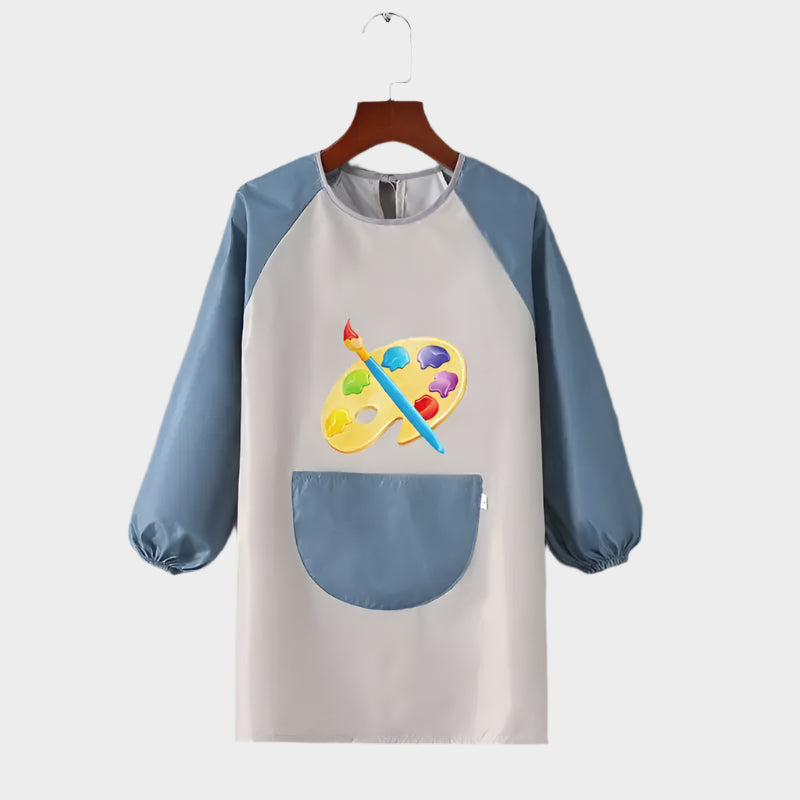
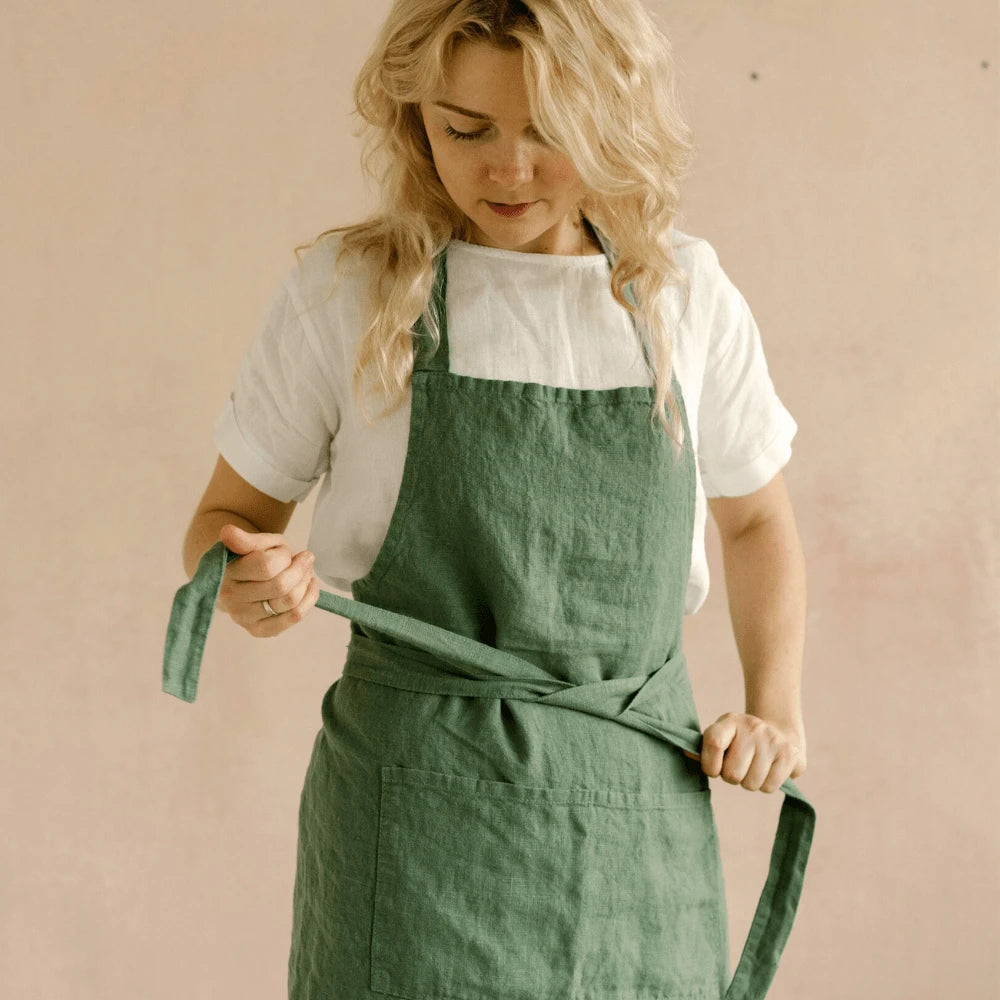
The Japanese apron, also known as the cross-back apron or tie-free kitchen apron, has grown in popularity in recent years thanks to its elegant simplicity and practical use. Often made from linen or cotton, this apron is a traditional workwear garment in Japan, but it has become a favourite around the world for its ease of use and minimalist style. In this guide, we explore the art of making a Japanese apron, a skill that can add a touch of authenticity to your kitchen or become a creative gift idea for your loved ones.
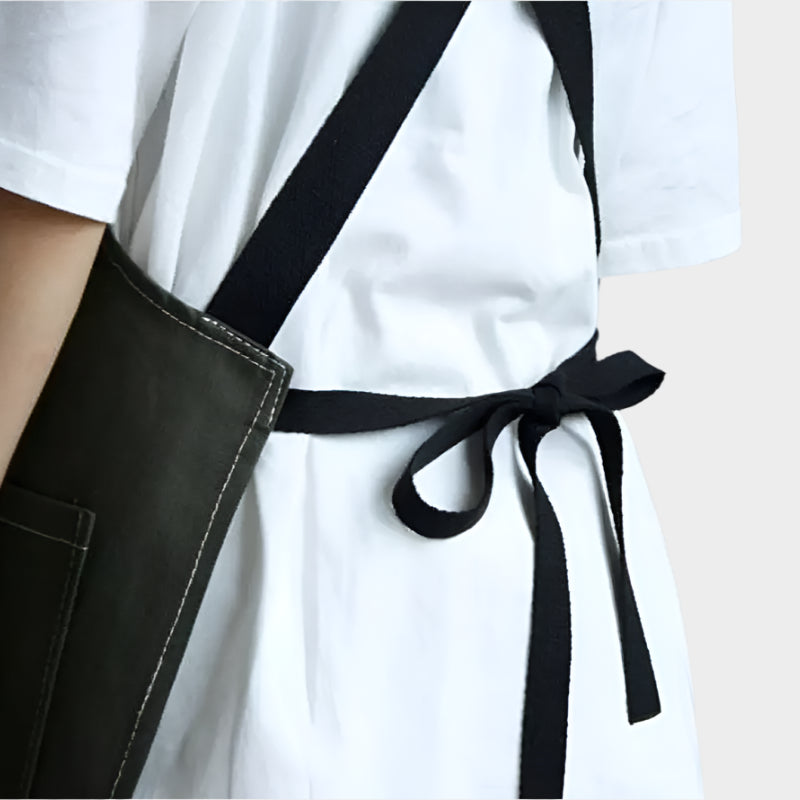
Japanese aprons are designed to be worn comfortably for long hours. They are roomy, covering a large part of the front and back of the body, and they have no ties, which makes them easy to put on and take off. Their distinctive design features two straps that cross at the back, so there is no need to knot strings or ribbons.
Choosing the right fabric for your apron is important. Natural fabrics such as linen and cotton are the most commonly used because of their durability and their ability to withstand heat. Colours and patterns are up to you, but traditional Japanese aprons often come in natural colours or soft pastel tones.
How to Make a Japanese Apron: Detailed Steps
Step 1: Preparing your materials
Start by gathering your materials. You will need about 2 metres of fabric, a pair of scissors, a ruler, a fabric pencil and a sewing machine. Make sure you wash, dry and iron your fabric before you begin to avoid any shrinkage later on.
Step 2: Cutting the fabric
Cut two rectangles from the fabric for the body of the apron, each measuring about 80 cm long and 70 cm wide. Then cut four more pieces for the straps, each measuring about 70 cm long and 10 cm wide.
Step 3: Sewing the apron
Place the two large rectangles on top of each other, right sides together, then sew the sides and the bottom, leaving the top open. Turn the apron right side out. For the straps, place two pieces right sides together, sew the long sides and one short side, then turn them right side out. Repeat for the second strap.
Step 4: Assembly
To assemble the apron, start by attaching the straps. Take one end of each strap and pin it inside the top edge of the apron, about 10 cm from the sides. Make sure the straps are not twisted and that their loose ends point towards the bottom of the apron. Then sew along the top edge of the apron to secure the straps.
Step 5: Finishing and adjustments
Once the straps are attached, you can move on to the finishing touches. Sew a hem along the top edge of the apron for a clean finish. To adjust the length of the straps, put the apron on and mark the ideal spot where the straps should cross at the back. Take the apron off, attach the straps at that spot and sew them in place. Finally, try on your apron to make sure it fits your body well and is comfortable to wear.
Conclusion
Making a Japanese apron can be a fun and rewarding activity that not only gives you an interesting sewing experience but also leaves you with a functional and attractive garment. By following these steps, you can create your own unique Japanese apron that reflects your personality and suits your cooking needs. So why not try making your own Japanese apron and bring a touch of Japanese elegance and style to your kitchen?
Making a Japanese apron is a great way to combine function and style. You can find inspiration in our Japanese apron collection. And if you love pushing the limits of your creativity, why not check out our guide "How to make an apron from a shirt"?