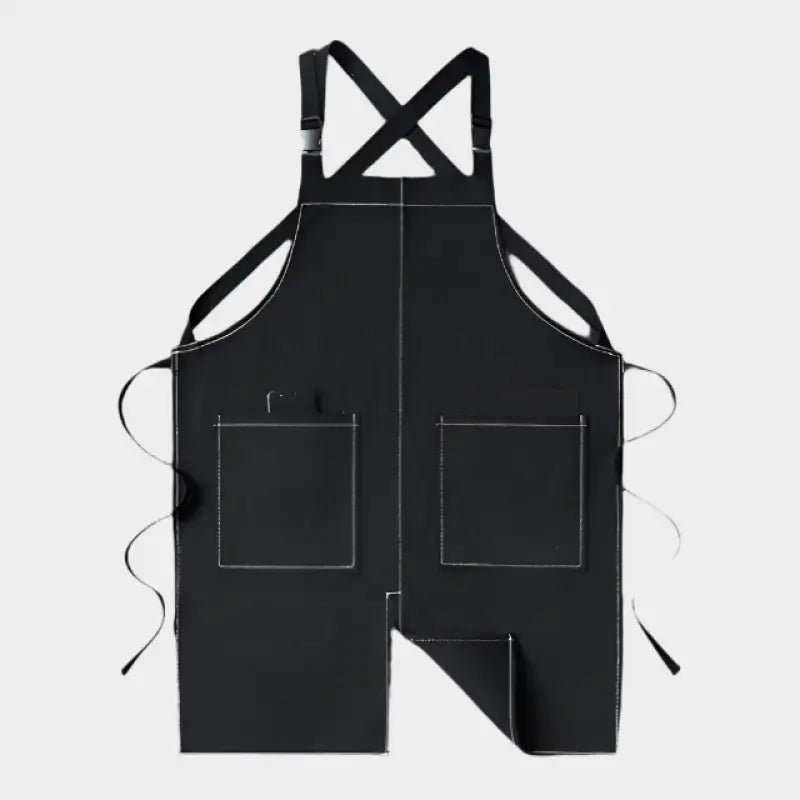
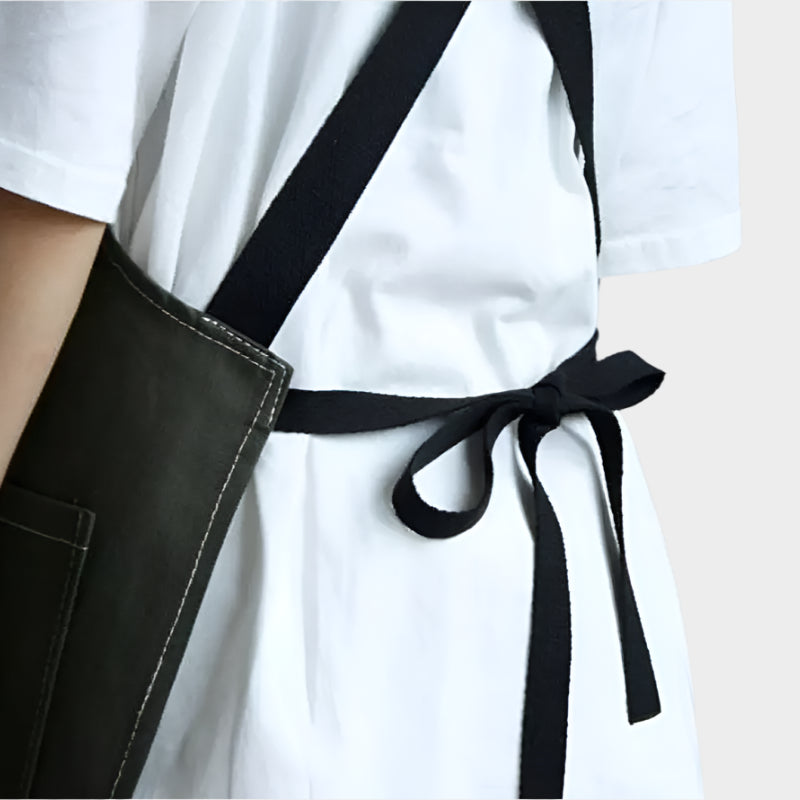
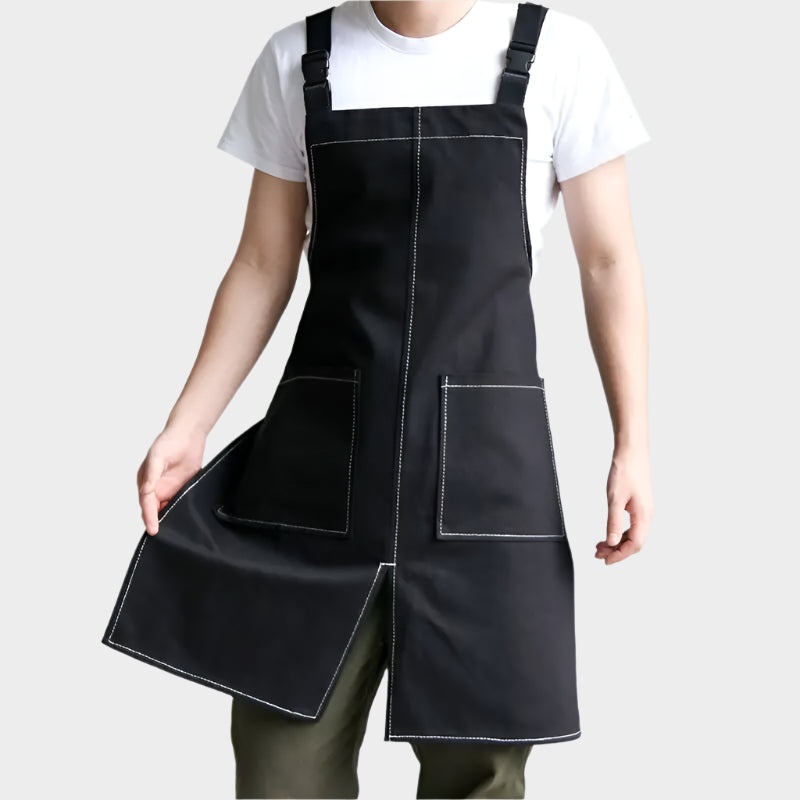
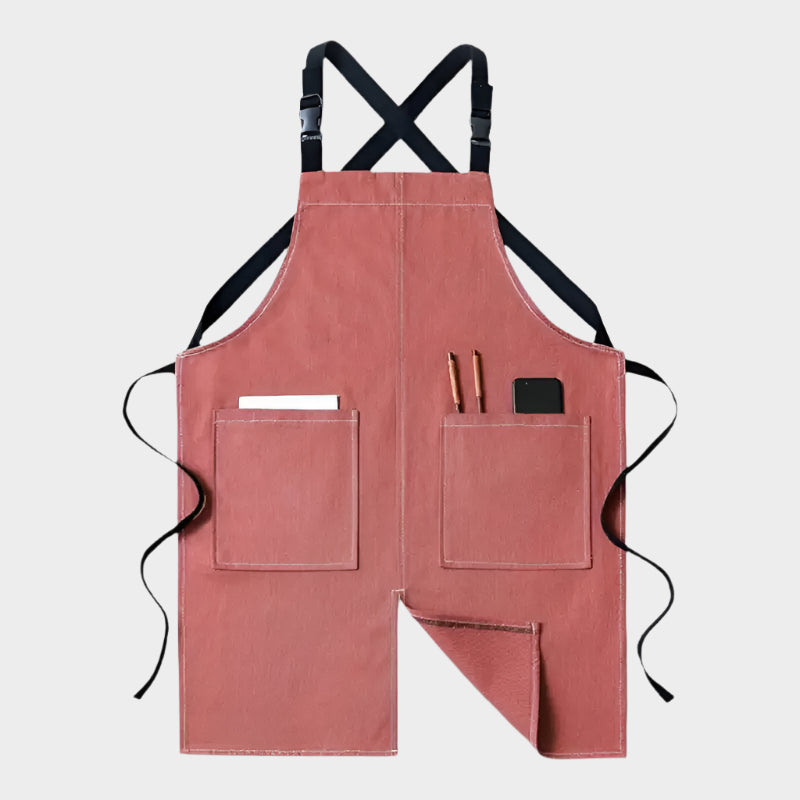
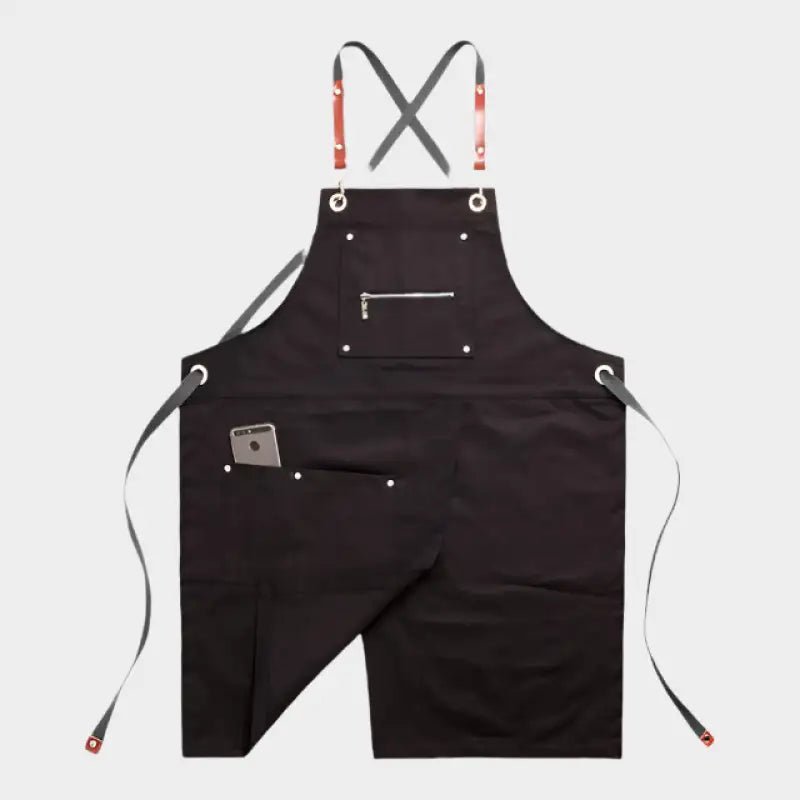
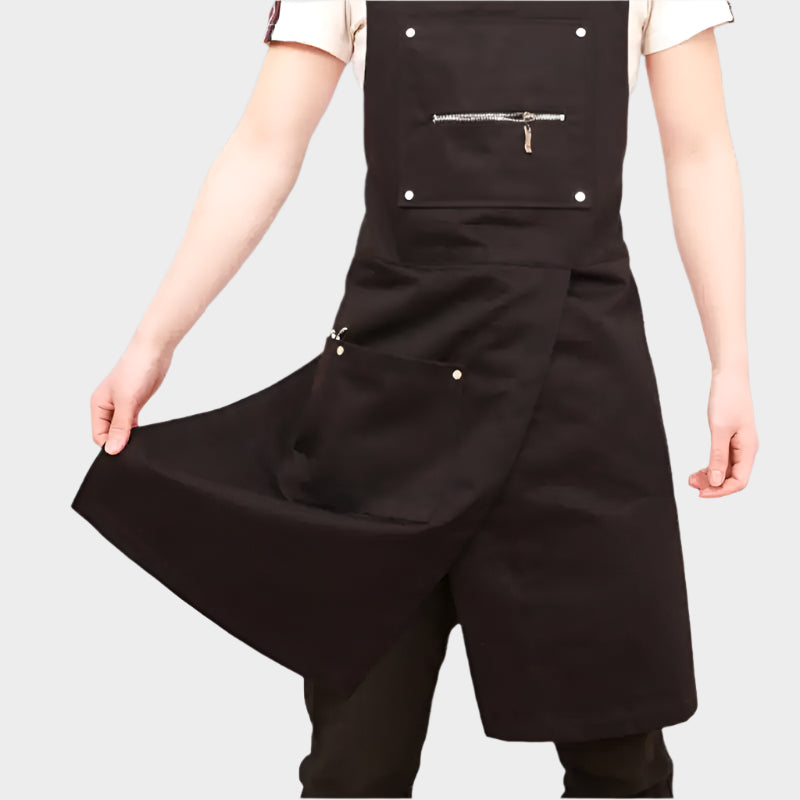
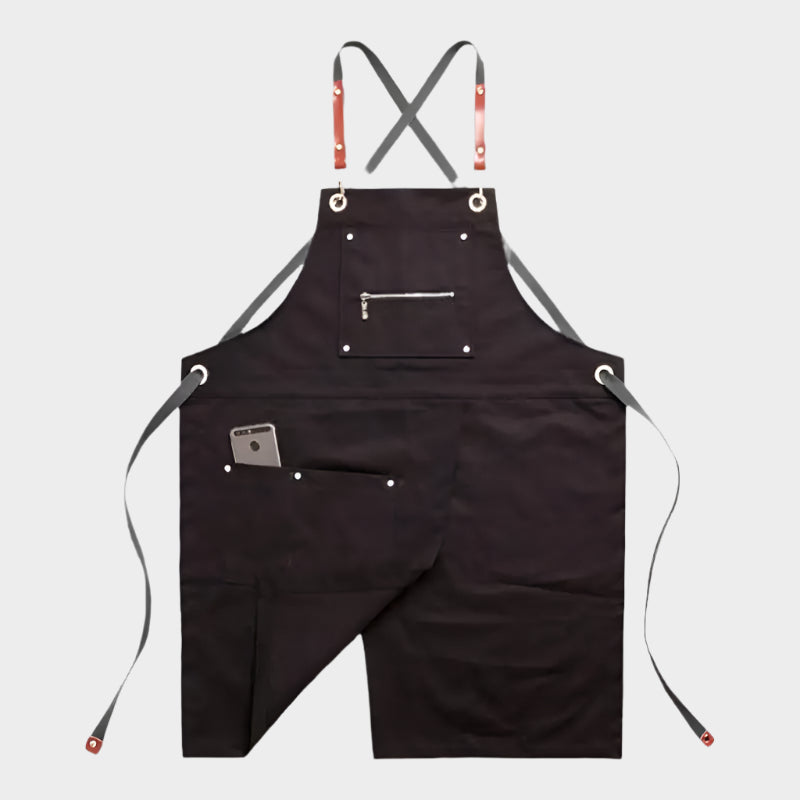
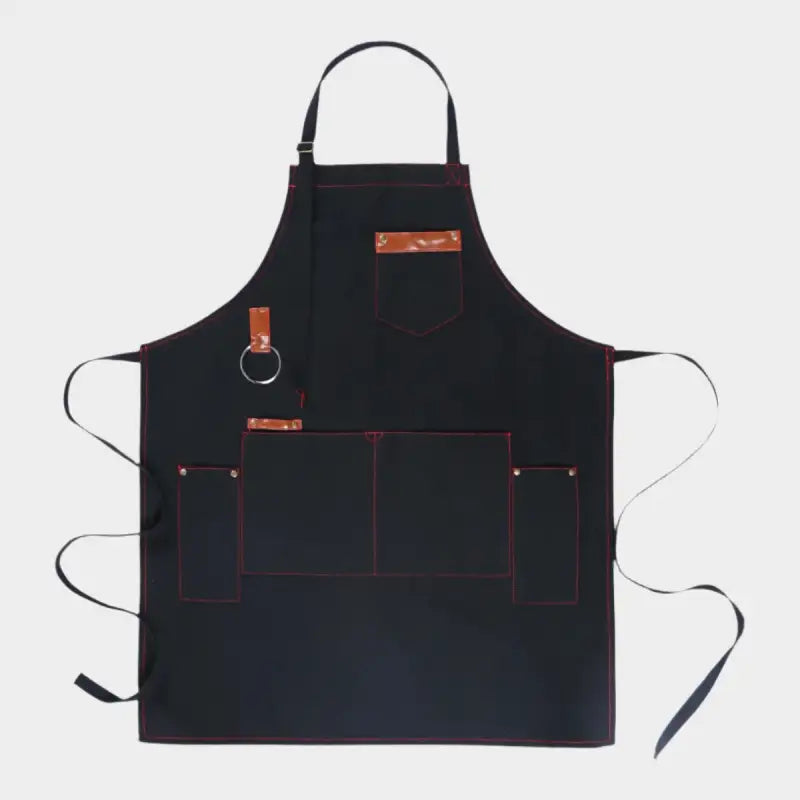
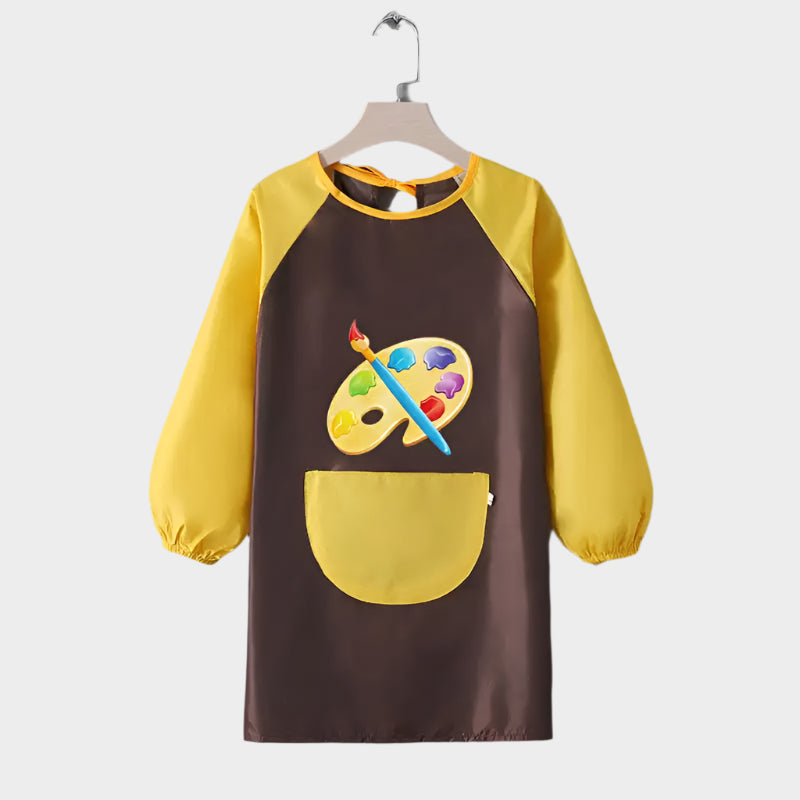
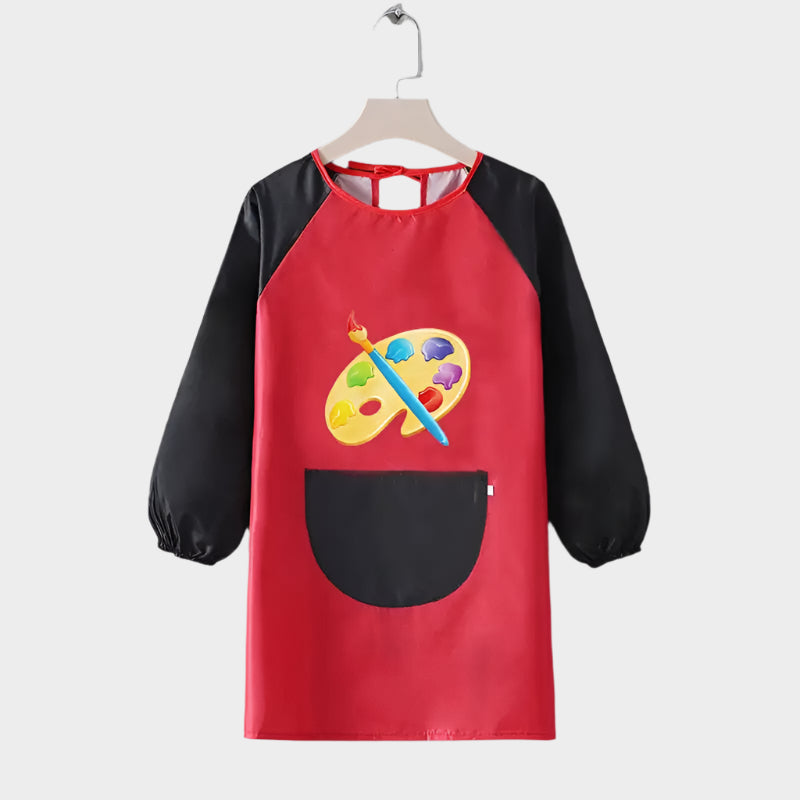
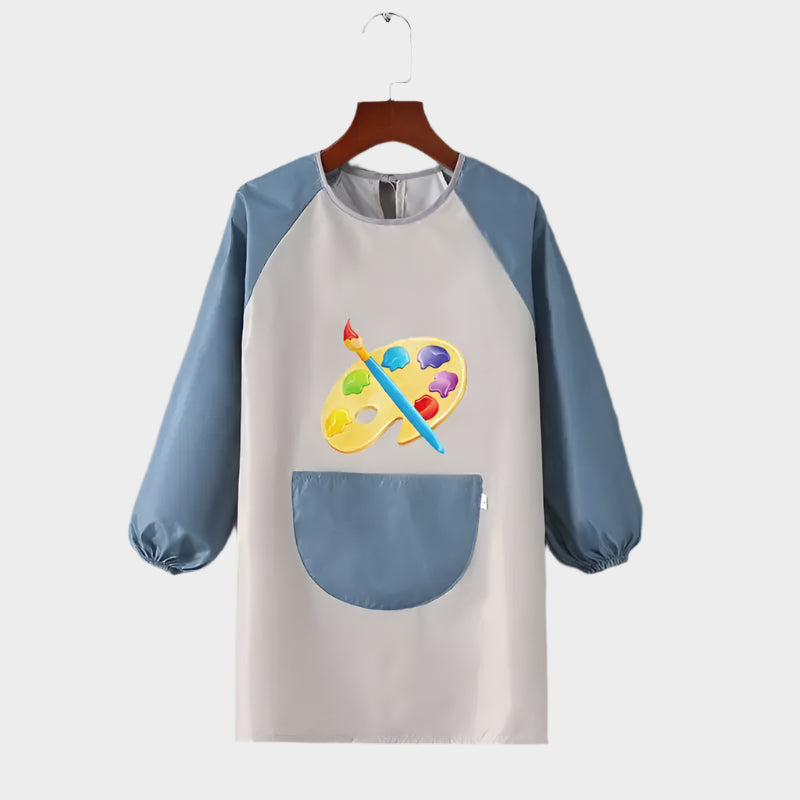
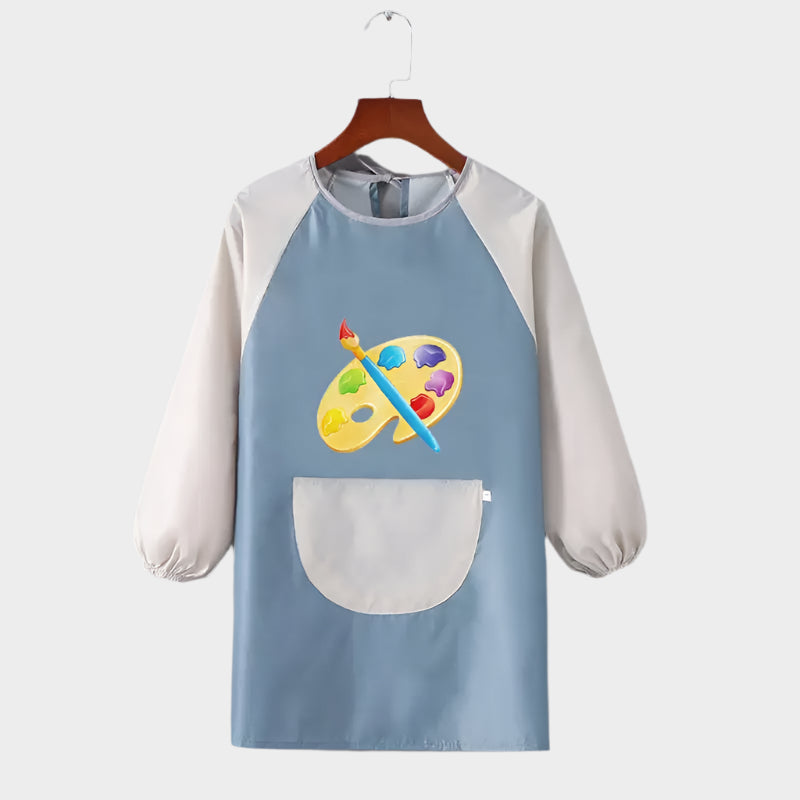
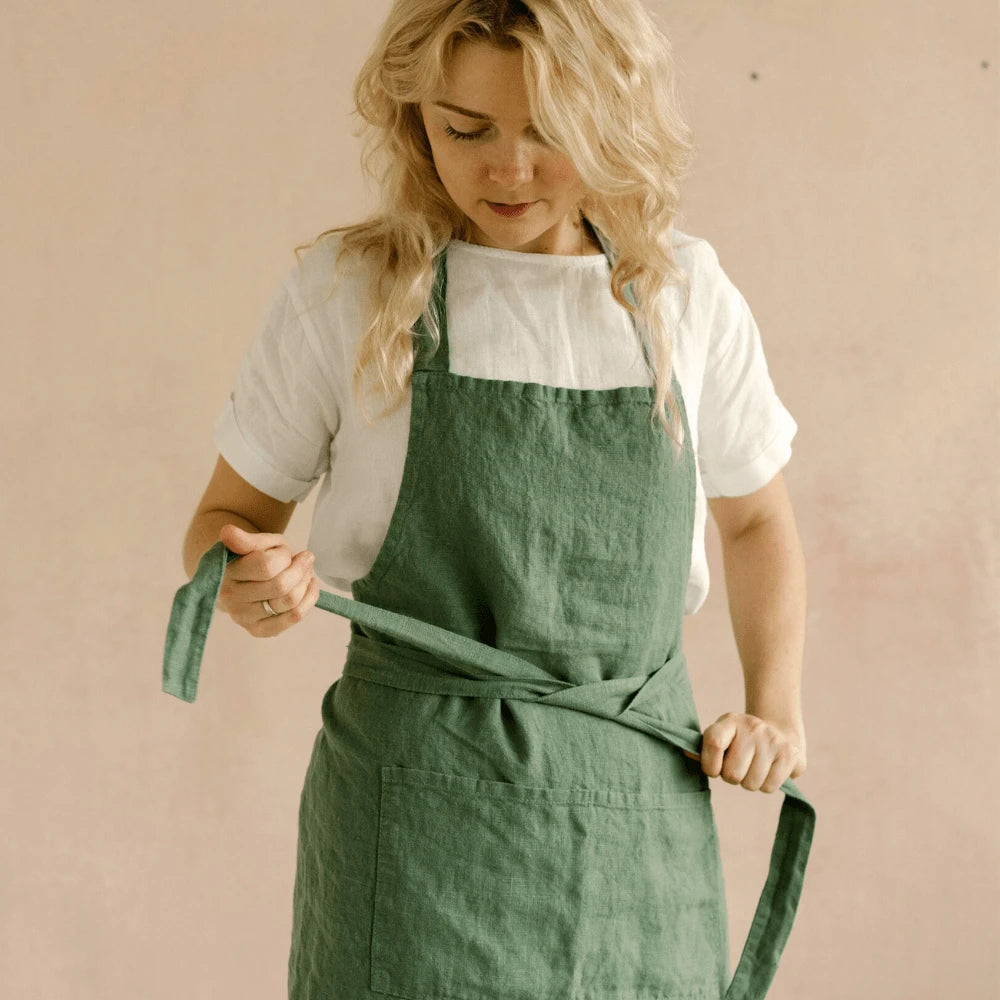
Sewing, an age-old craft, is making a strong comeback in our modern lives. Whether to personalise your home decor, save money or simply for the joy of making something, more and more people are giving it a try. Among the most popular and practical sewing projects is the kitchen apron. It is an essential item for any cook, amateur or professional.
It protects your clothes from stains, and it can also be a stylish touch in your kitchen. In this article, we will guide you through every step of making your own kitchen apron. You will discover that making an apron is not only a creative and rewarding activity, but also an excellent introduction to the world of sewing.
What you will need
To get started, you will need a few materials and tools. Here is a list of what you will need:
Fabric
Choose a heavy cotton or linen fabric for the best durability and stain resistance. You will need about 2 metres for a standard size apron.
Other supplies
You will also need matching thread, sewing scissors, pins, a sewing machine, an iron and a ruler. Bias tape (optional) can be used for a more professional finish.
Steps for making a kitchen apron
1. Preparing the pattern
Start by creating a pattern for your apron. Draw a rectangle 70 cm wide and 80 cm long for the body of the apron. For the ties, you will need two strips 70 cm long and 5 cm wide, plus another strip 60 cm long and 5 cm wide for the neck strap.
2. Cutting the fabric
Place your pattern on the fabric and use pins to hold it in place. Use sewing scissors to carefully cut around the pattern, leaving a seam allowance of about 1 cm. You should now have four pieces of fabric: the body of the apron and three strips for the ties.
3. Assembling the apron
Sew the fabric strips to form the apron ties. Then pin the neck strap and the waist ties to the body of the apron. Sew them in place with your sewing machine, taking care to reinforce the stitches well at the ends.
4. Finishing touches
To finish, iron your apron to remove any creases. If you like, you can add bias tape around the edges of the apron for a more professional finish. To do this, place the bias tape along the edge of the apron, with the raw edges aligned. Sew it in place, then fold it over and sew again to secure it.
Practical tips for sewing an apron
Sewing an apron is a fairly simple project, but here are a few tips that can make the process even easier and more enjoyable:
Pre-wash your fabric
Fabrics tend to shrink after the first wash. To keep your apron from losing its shape, wash and iron your fabric before you start sewing.
Choose the right thread
Make sure you choose a high quality thread that matches the colour of your fabric. Poor quality thread can break easily and make sewing frustrating.
Take your time
Sewing is an activity that requires patience. Don't rush: take the time to measure and cut your fabric properly, and to sew each seam carefully.
Personalise your apron
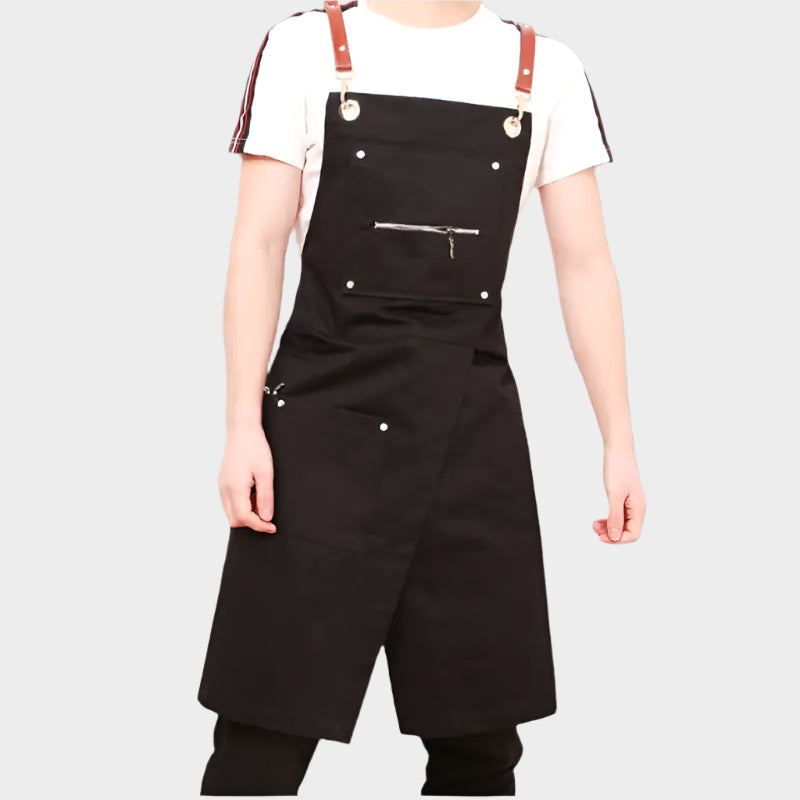
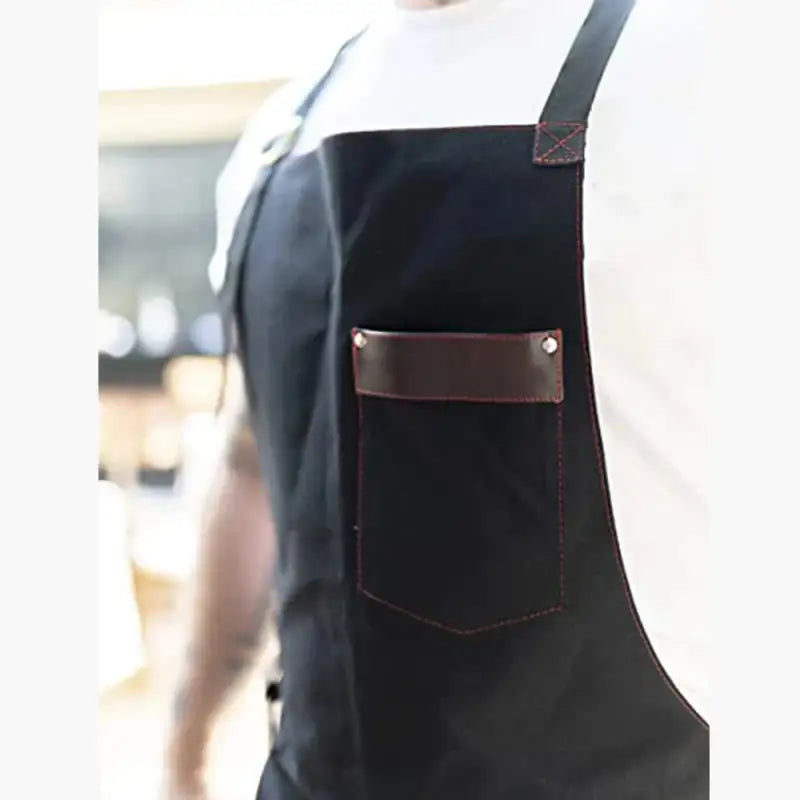
Feel free to add your own personal touch to your apron. For example, you can add a pocket, use fabrics in different colours, or even embroider your name or a design on the front.
Sewing your own kitchen apron can be a fun and productive activity. To add a playful touch to your work, you might be interested in our collection of Funny Aprons. And to keep exploring the world of aprons, keep an eye out for our upcoming blog posts.
Conclusion
And there you have it, you now know how to sew a kitchen apron! This simple, rewarding project is perfect for sewing beginners. Not only will you have created something beautiful and useful, you will also have learned basic sewing skills that will come in handy for future projects. So pick up your needle and thread, and start sewing your own apron. Who knows, you might just discover a new passion!