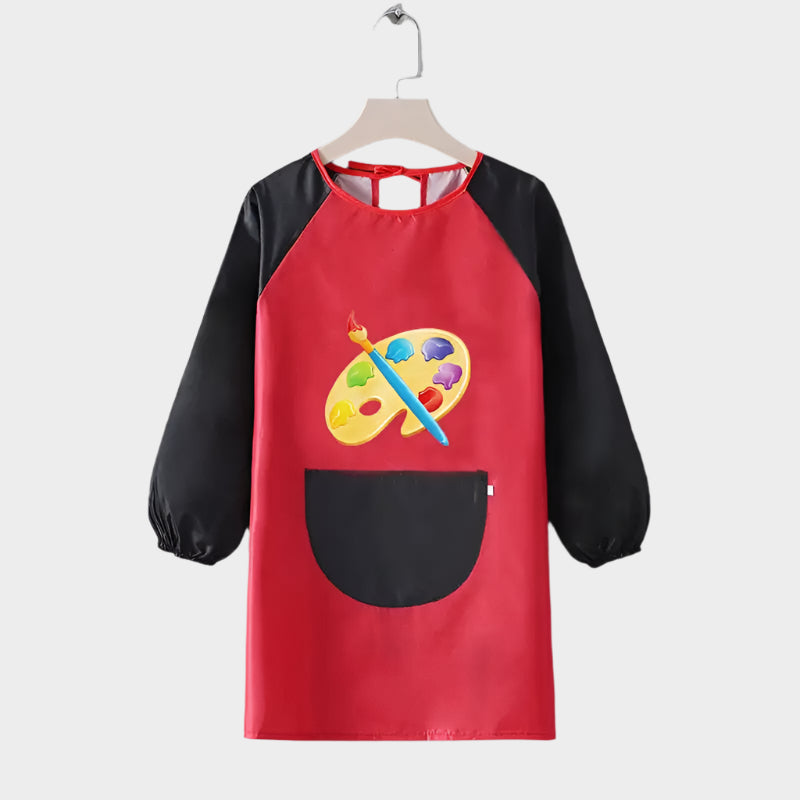
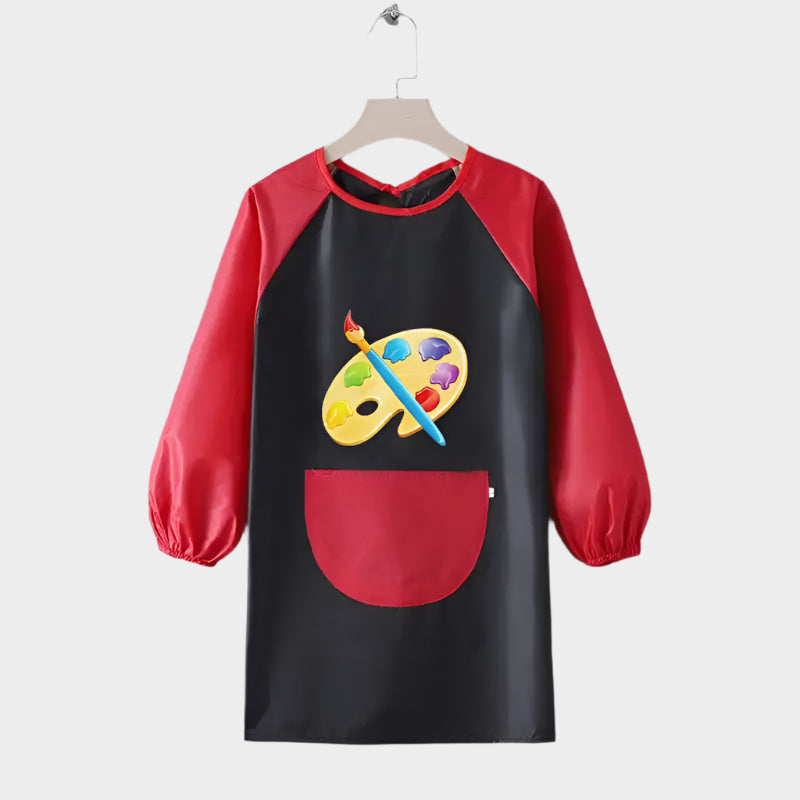
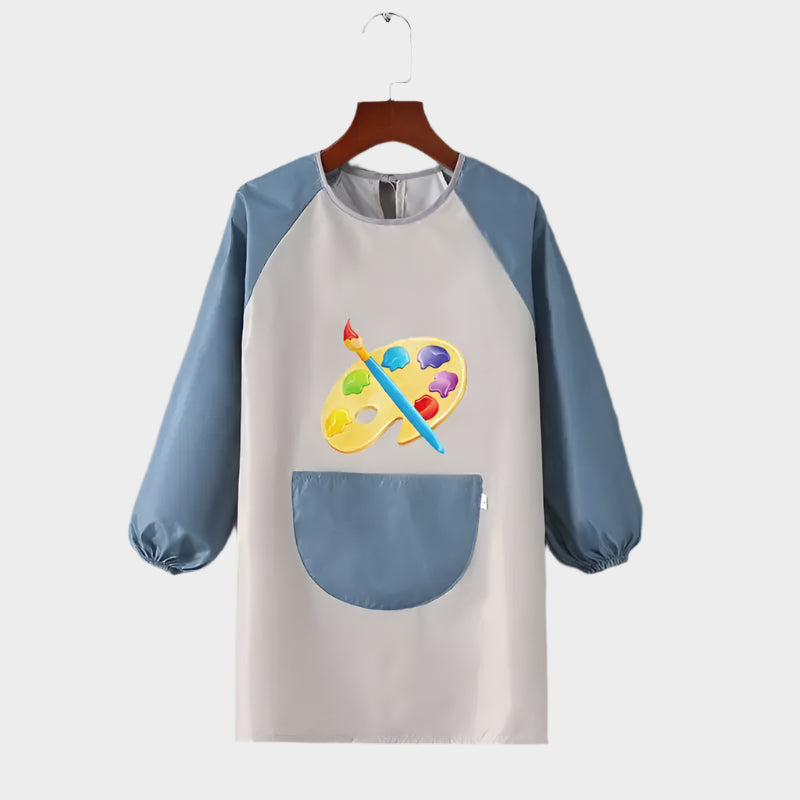
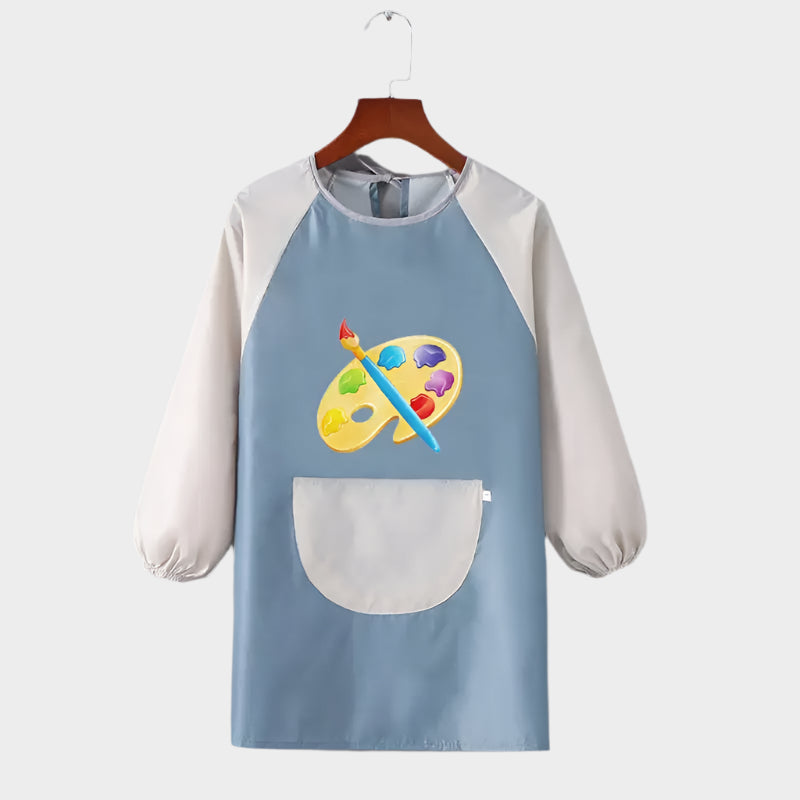
Choosing materials for a children's kitchen apron
Dressing young cooks in a kitchen apron made just for them really matters. Not only does it protect their clothes from splashes and stains, it also helps them feel more involved and excited about cooking. But how do you go about making this essential kitchen apron? Don't worry, you don't need to be an expert seamstress to get it right. The first step is choosing the right materials.
Choosing the fabric
The fabric is one of the most important elements when making an apron. It needs to be sturdy enough to stand up to stains and repeated washing, yet soft and comfortable for children's delicate skin. Durable, easy-care fabrics such as cotton are popular choices. Feel free to pick a fabric with a fun pattern or your child's favourite characters to make it even more appealing.
The pattern: the foundation of the project
Once you have your fabric, the next step is to create a pattern for your apron. This step is crucial because it determines how the apron will fit your child.
Making the pattern
You can either buy a pattern or make one yourself. If you choose the latter, you will need a tape measure to measure your child. Take their waist and width measurements, along with the length you want for the apron. Then draw the pattern on a sheet of paper, making sure to add a few centimetres for the seams.
Time to sew: assembling the apron
Now that you have your pattern and your fabric, it's time to start sewing the apron.
Preparing and cutting the fabric
Start by ironing your fabric to remove any creases, then lay your pattern on the fabric. Use pins to hold the pattern in place and carefully cut around it with sewing scissors.
Assembling the pieces
Once the fabric is cut, you can start assembling the pieces. You will need your sewing machine for this. Follow the pattern and start sewing the pieces together, always making sure to sew the seams on the wrong side of the fabric.
Finishing the apron: adding the final touches
Once your apron is assembled, all that's left is to add a few final touches to make it truly special.
Adding the pocket and ties
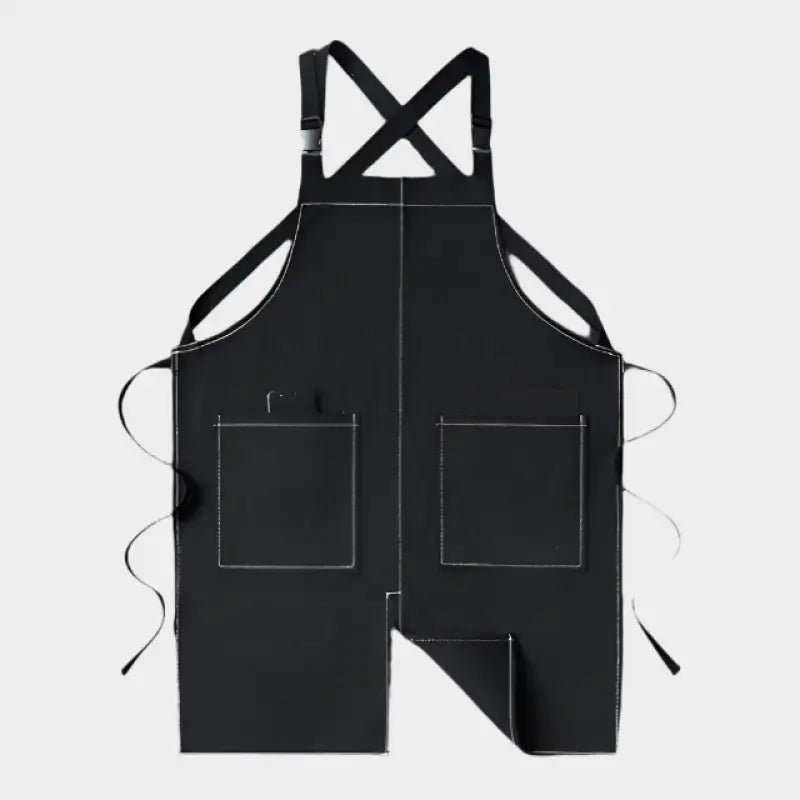
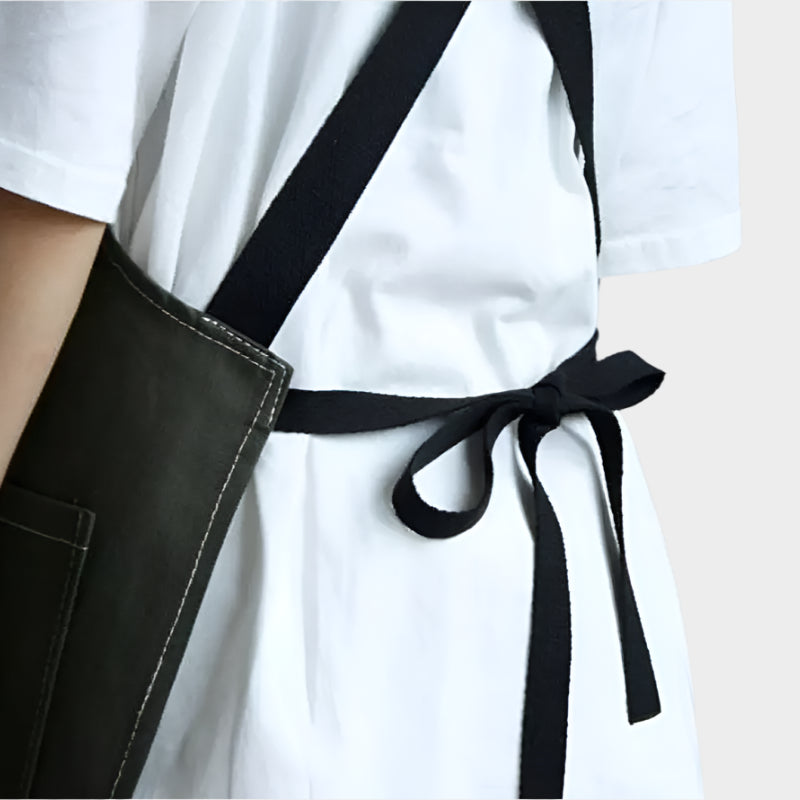
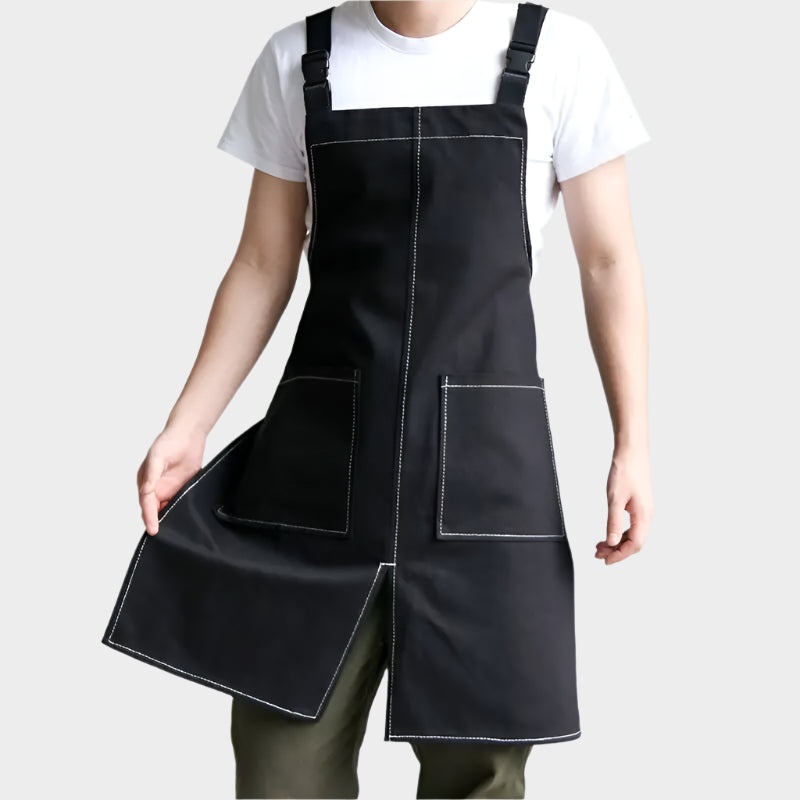
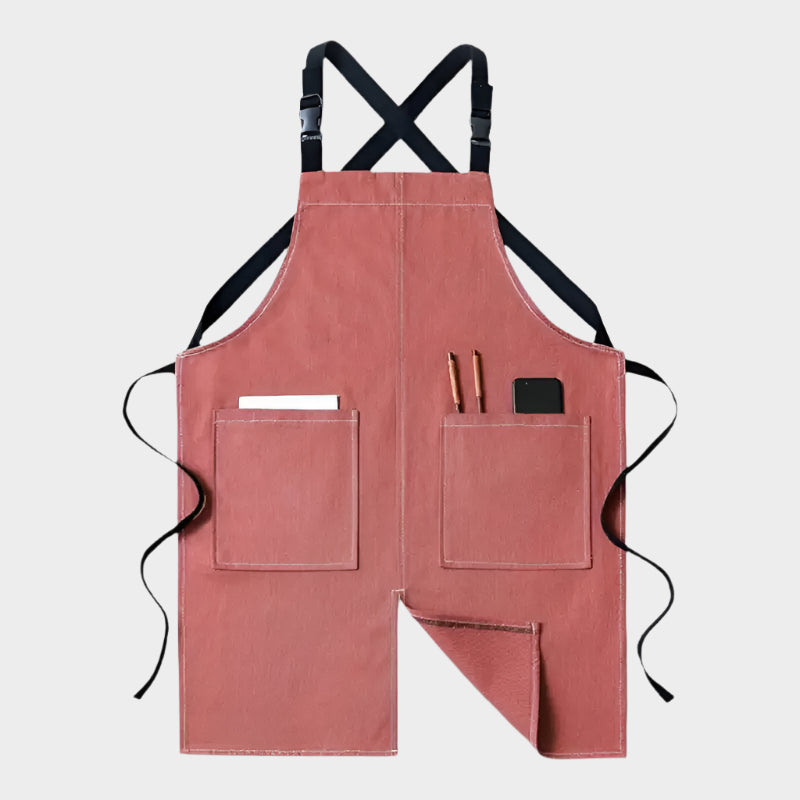
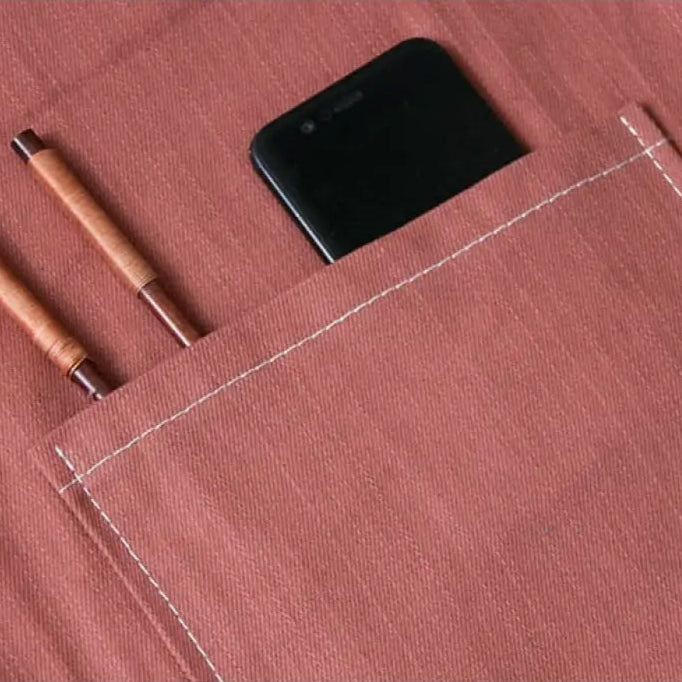
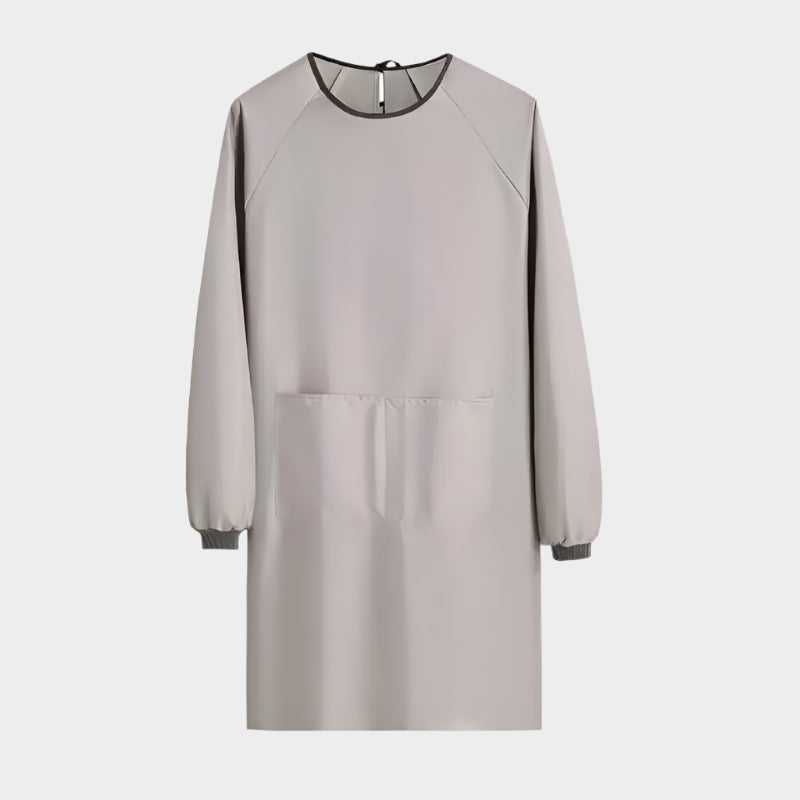
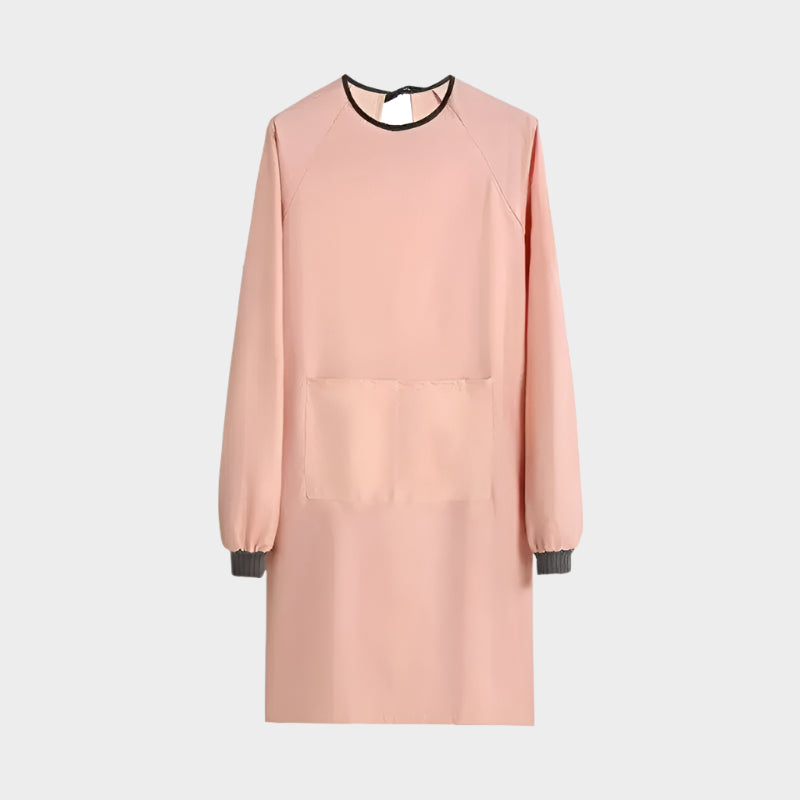
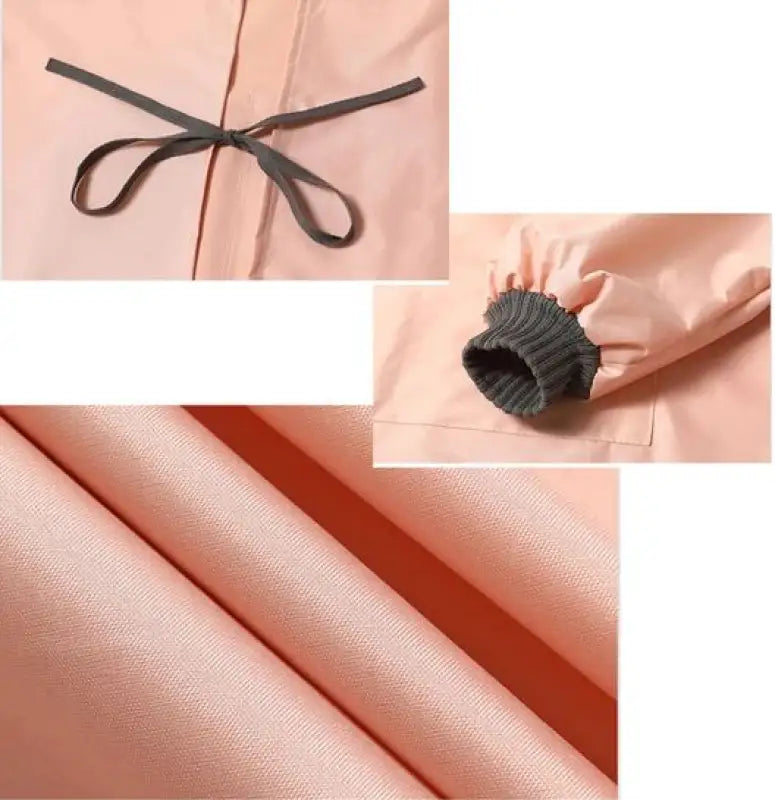
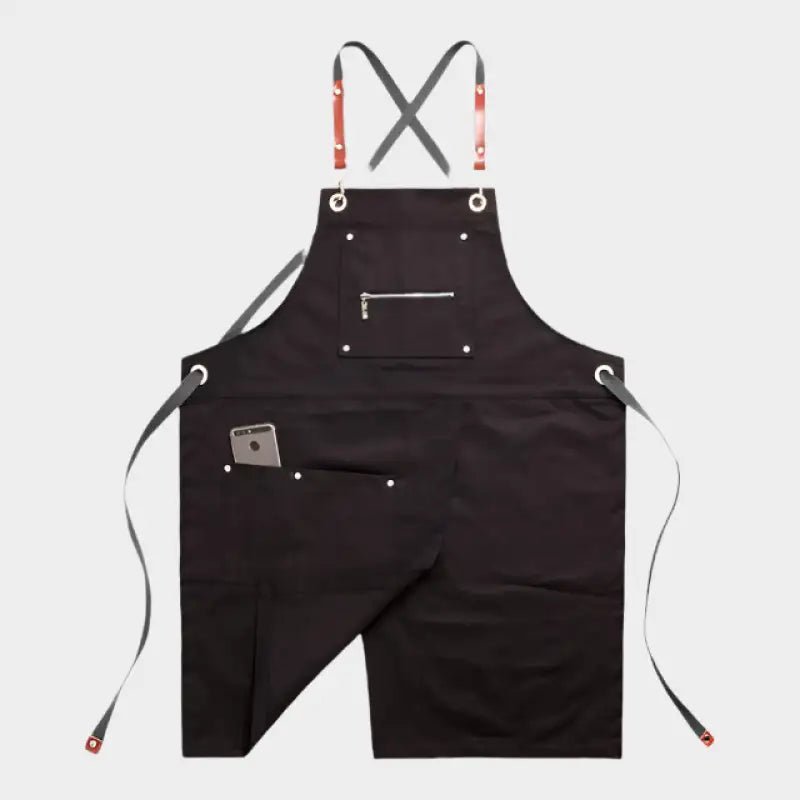
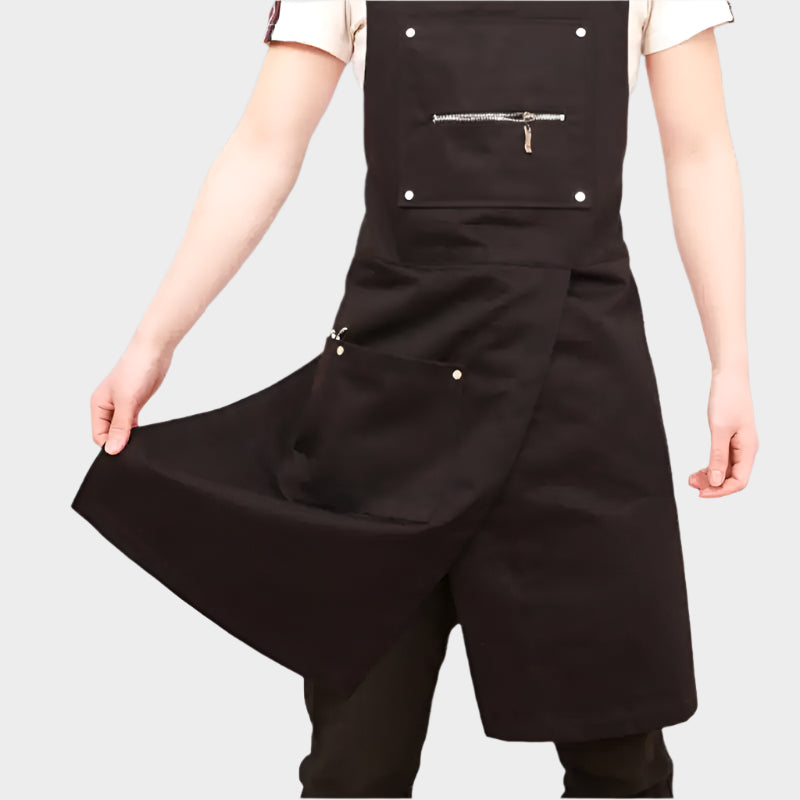
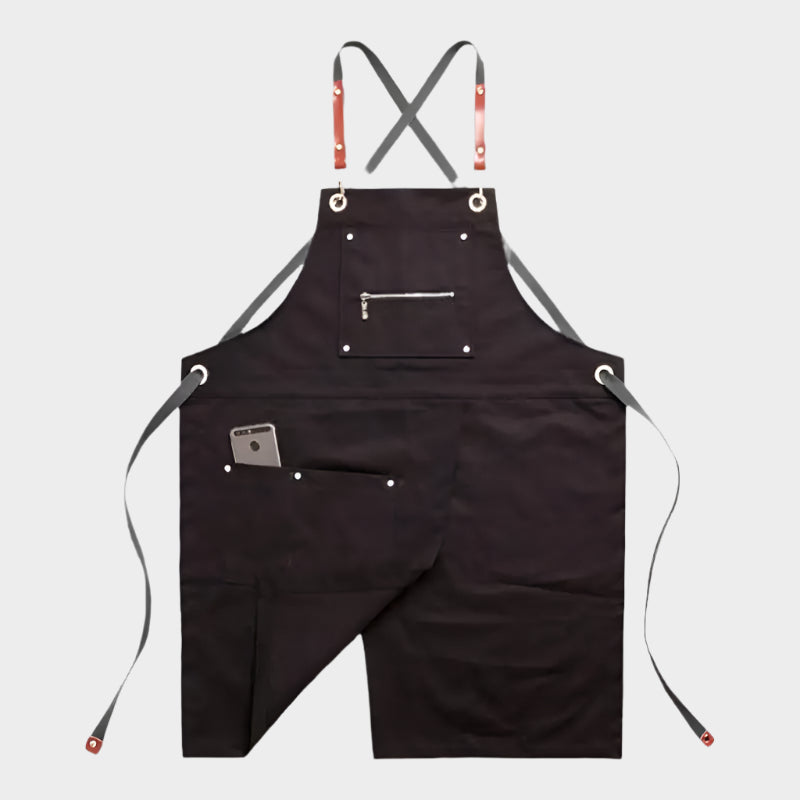
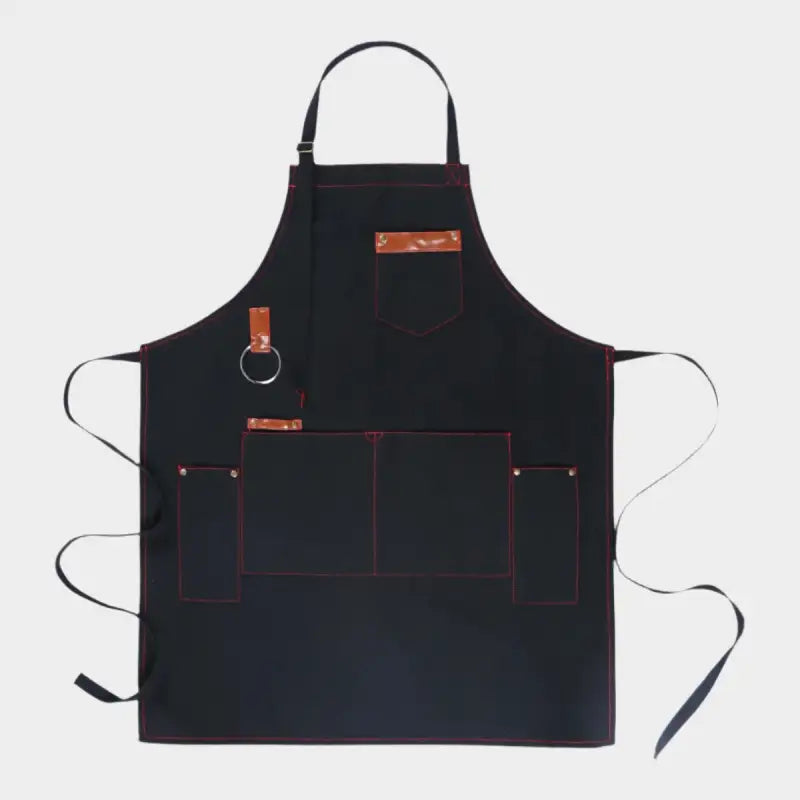
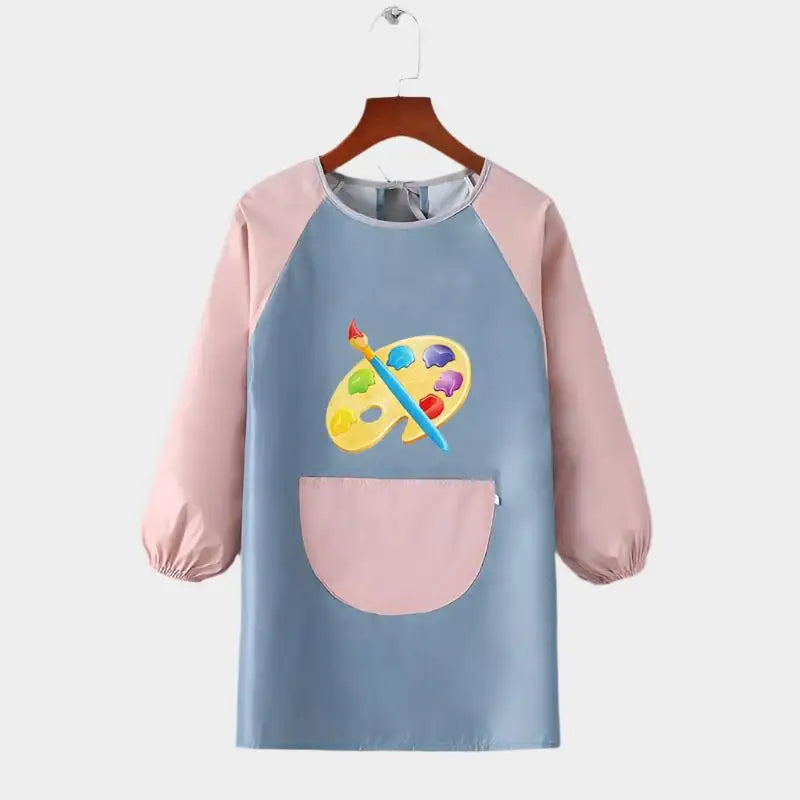
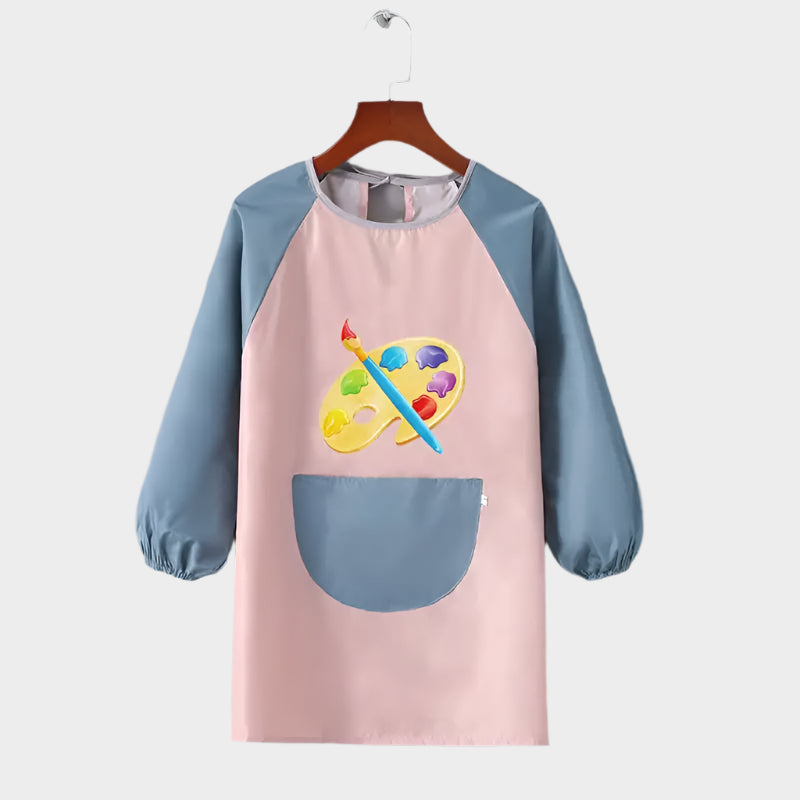
A pocket on the front of the apron is not only practical, it also adds a cute touch. To make one, cut a piece of fabric and sew it on three sides, leaving the top open. Then you can sew ties at the waist and neck of the apron. Make sure they are long enough to be tied easily.
Putting it into action: using the apron
Now that you have made a lovely kitchen apron for your child, it's time to put it to the test! Encourage your child to take part in cooking or baking activities. Not only will this give them a chance to show off their new apron, it might also spark a new interest in cooking.
Learning while having fun
Cooking is a fun and educational activity for children. It helps them develop their maths and reading skills, their hand-eye coordination and their creativity. So put that new apron to use and start cooking together!
Recap and what comes next
Making a children's kitchen apron is a rewarding project that gives you not only a practical garment, but also a wonderful opportunity to connect and learn together. And the possibilities don't stop there. You can keep improving your sewing skills and try different fabrics, patterns and styles to make more aprons or other items for children. The most important thing is to enjoy the whole process and cherish the time spent together.
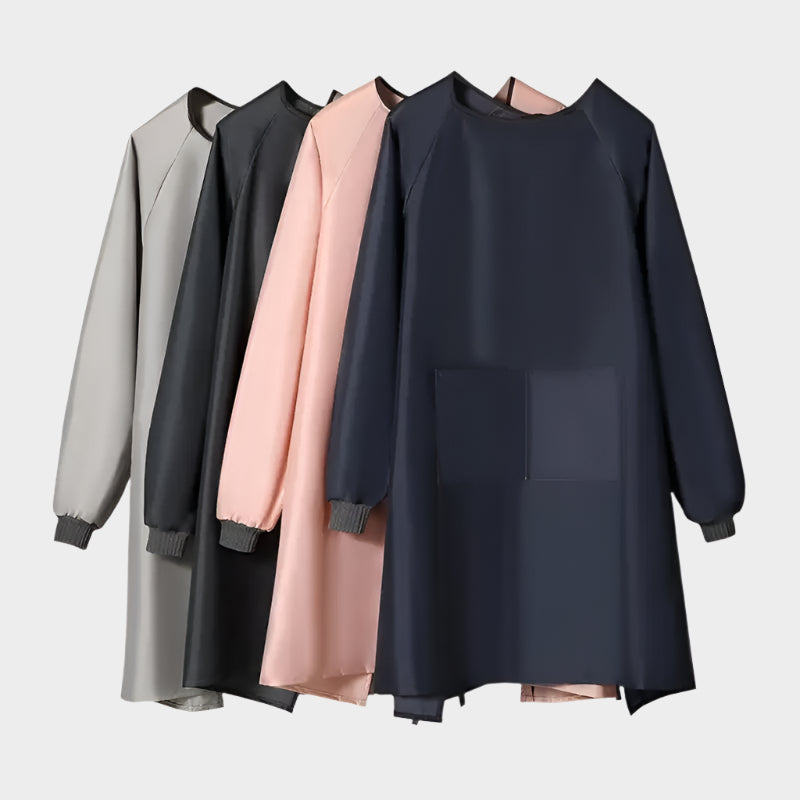
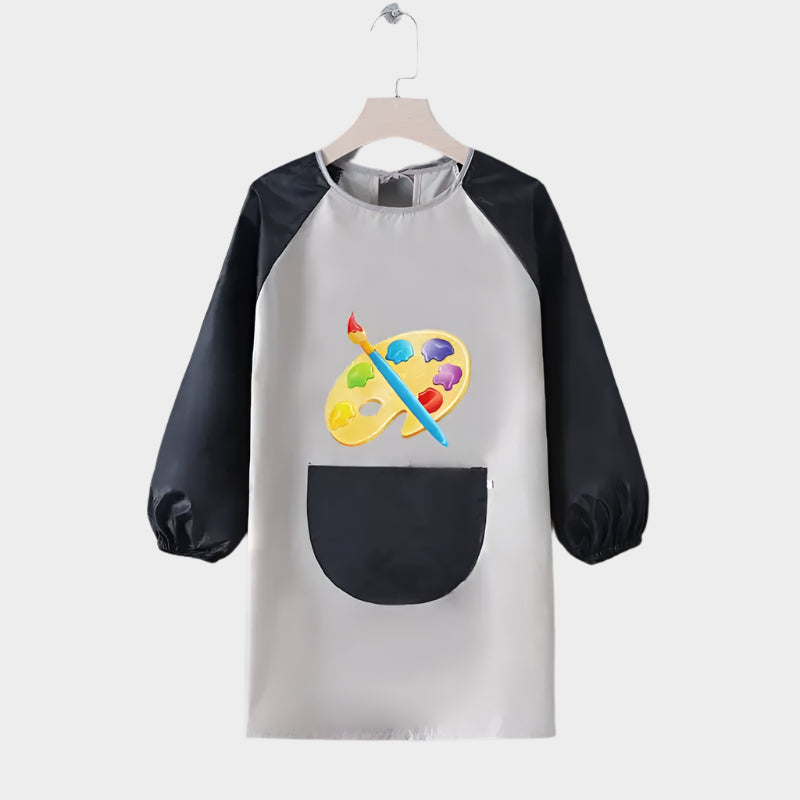
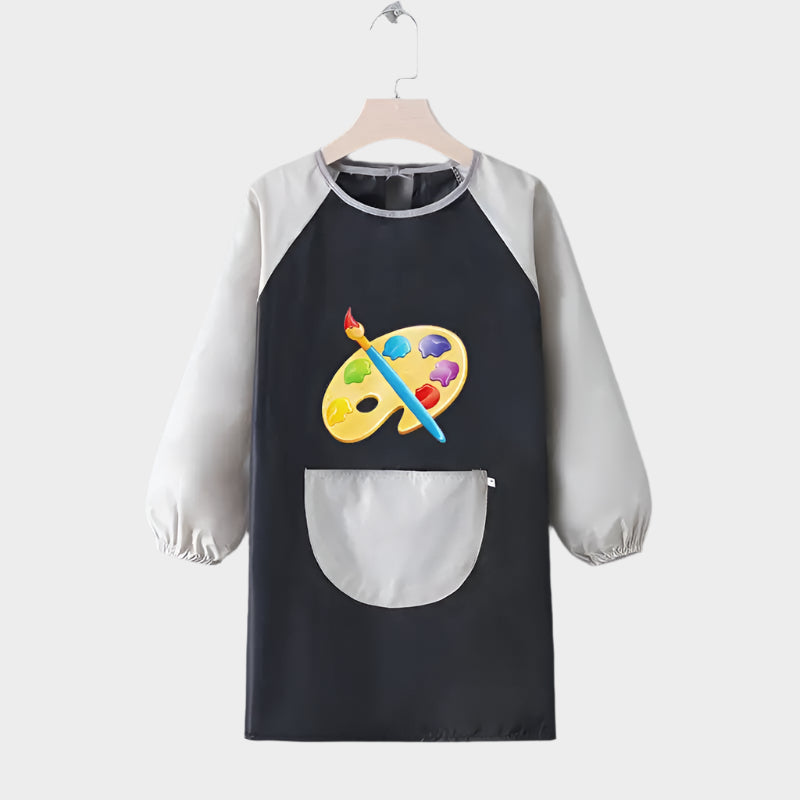
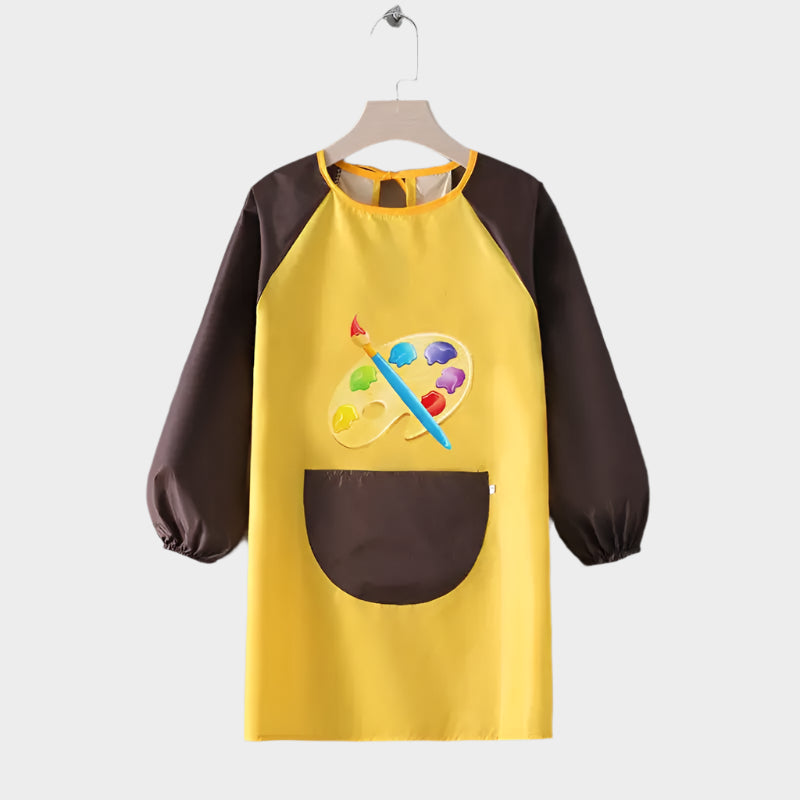
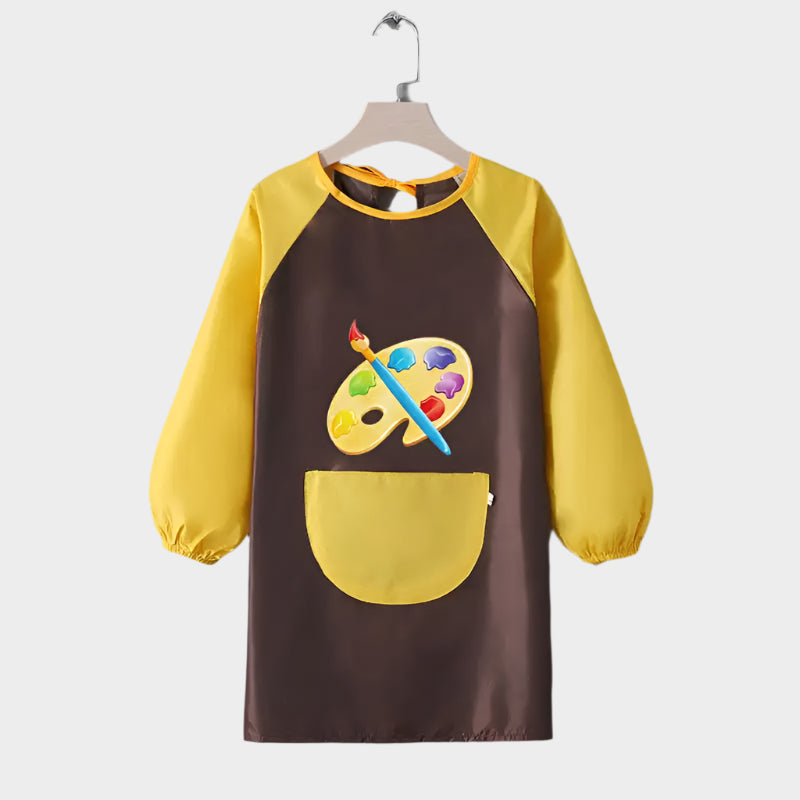
In conclusion, you can make a children's kitchen apron from simple, inexpensive materials. For more specific aprons, such as painting aprons, Japanese aprons or vintage aprons, feel free to browse our selection of children's aprons on Le Tablier Noir. You will also find many other styles for women, men and unisex, for every taste and every occasion!