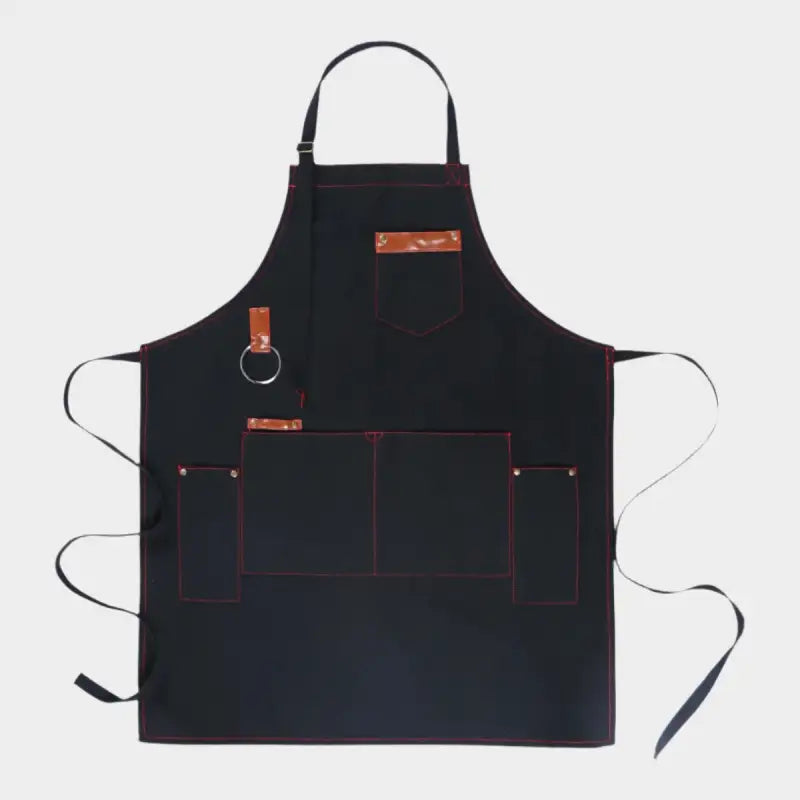
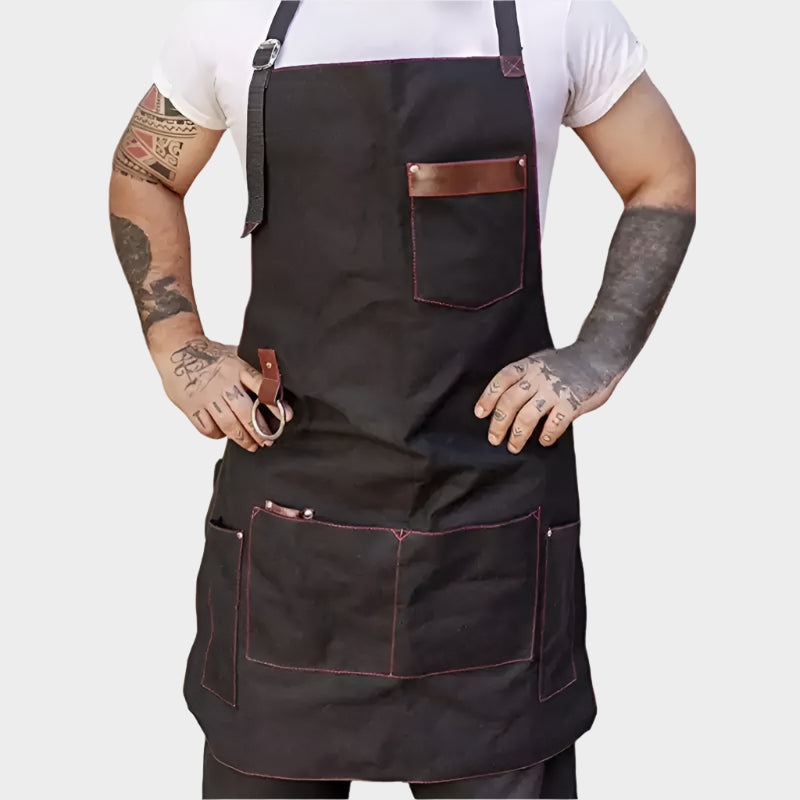
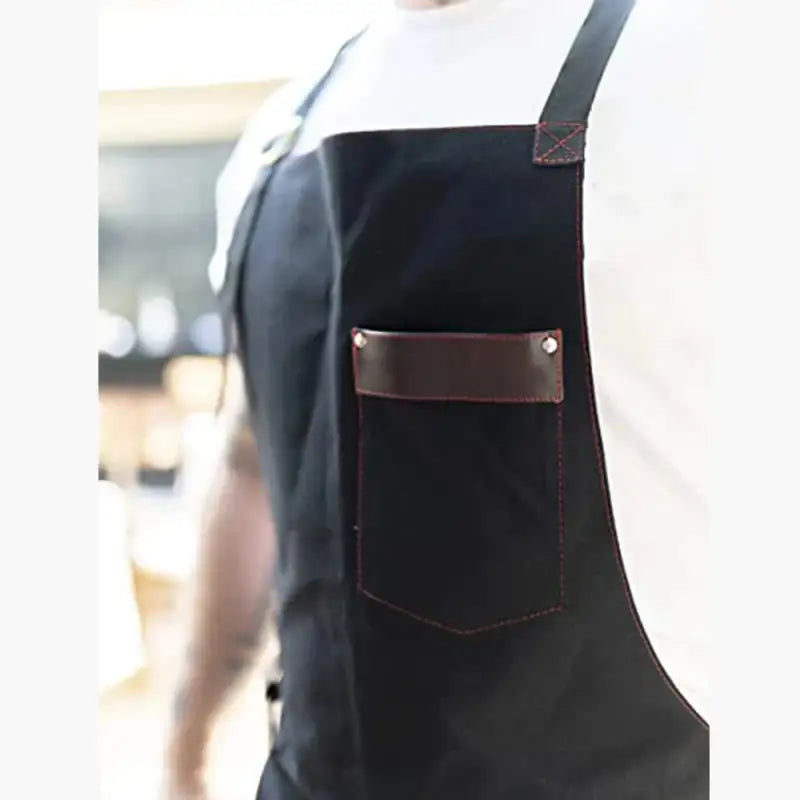
An apron that rides up your chest, a bib that pulls on your neck, a knot that comes undone between two dishes: these three problems almost always come from poor adjustment, not from a badly designed apron. Here is how to tie it in the right order so it stops slipping.
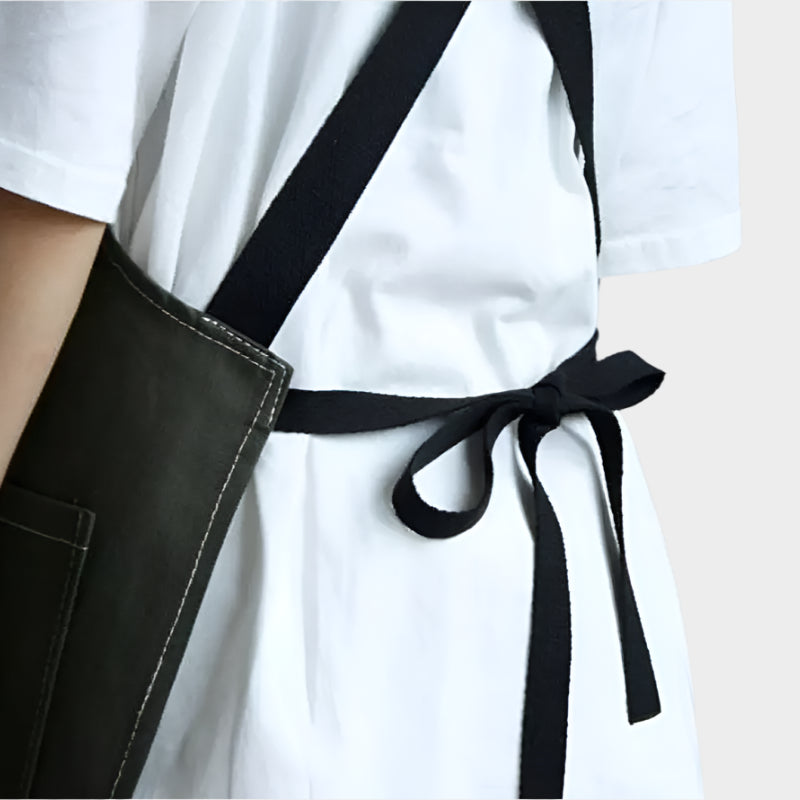
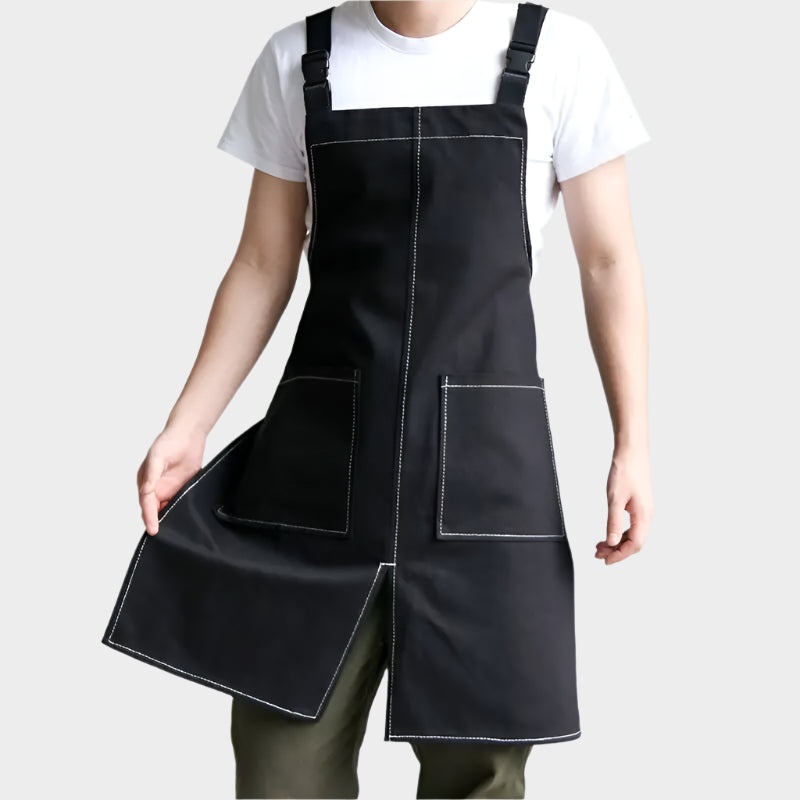
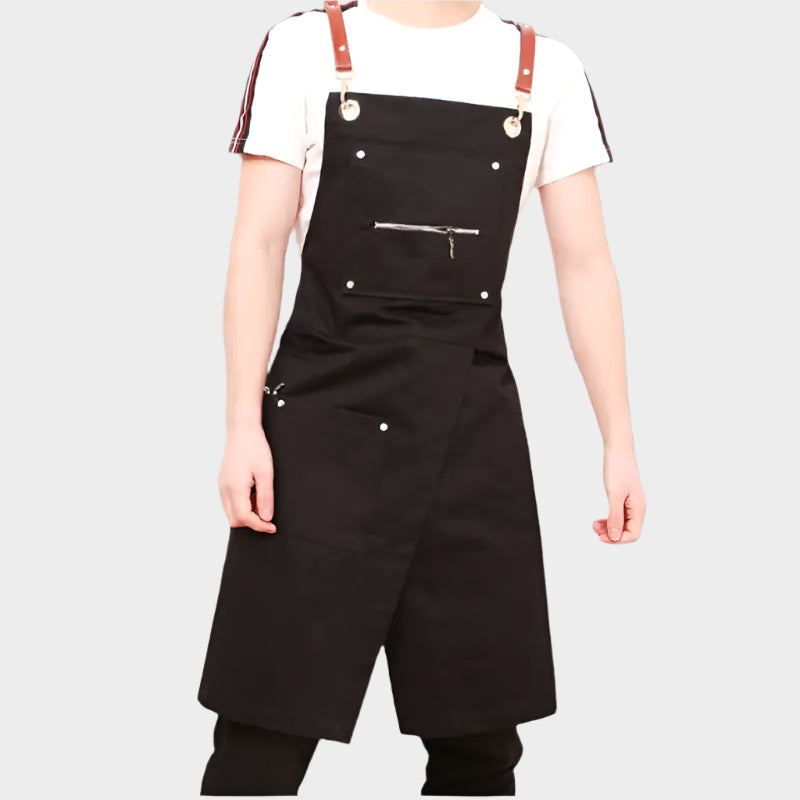
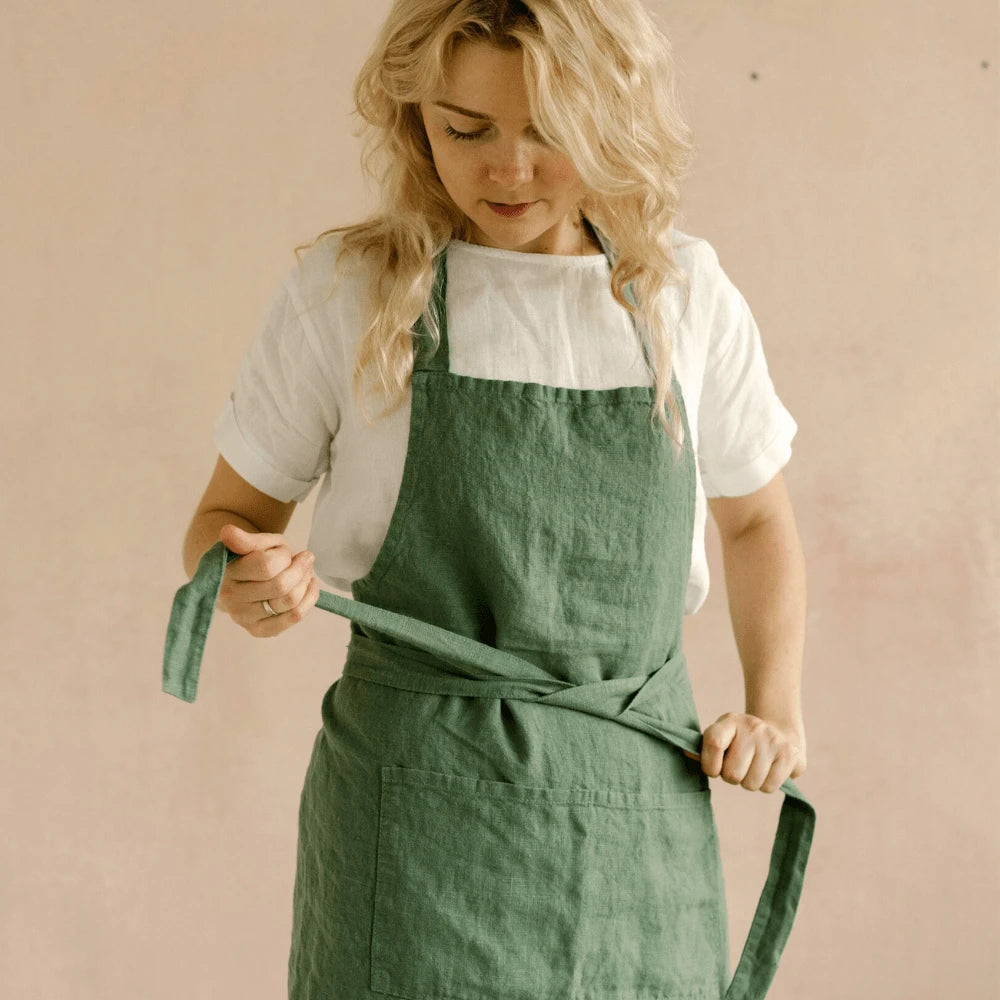
To put on a kitchen apron properly, slip the bib over your head first, before touching the waist ties. Adjust the neck height before tightening anything, then cross the ties behind your back and bring them around to knot at the front, flat against your stomach.
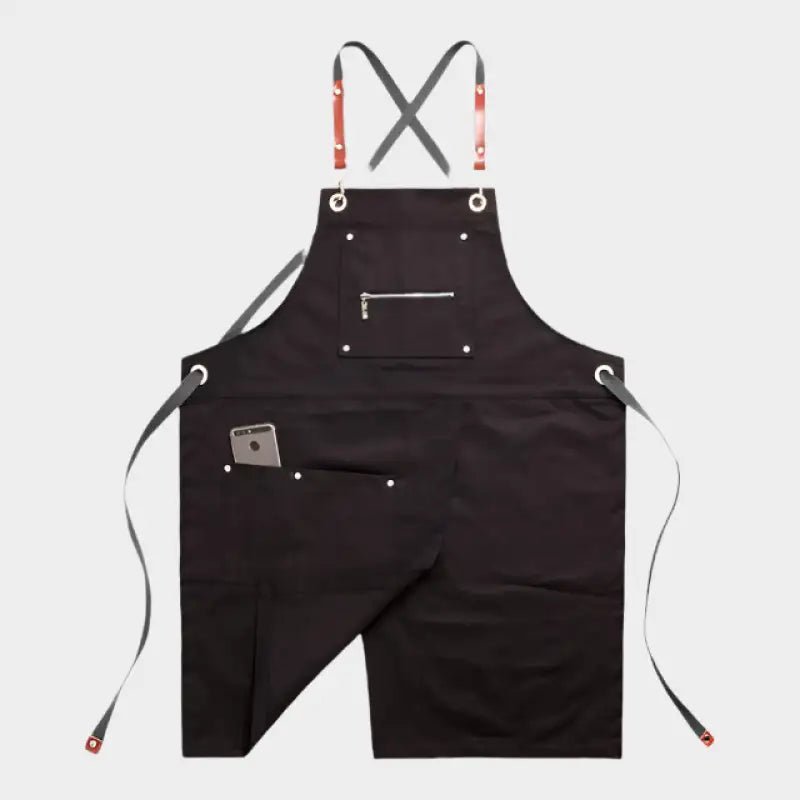
A Japanese cross-back apron only changes the last step: there is no knot to tie, the straps cross at the back and tuck under themselves.
The right order to put on your apron
- Slip the bib over your head, with the fabric lying flat on your chest, without twisting it.
- Adjust the neck strap before touching the waist ties: it carries the weight of the fabric, not the knot.
- Bring both waist ties behind your back, cross them, then bring them back around to the front.
- Tie the knot at the front, flat against your stomach, never on the side where it always ends up slipping.
This order works for most bib-and-tie kitchen aprons, from everyday styles to more technical chef aprons.
Tying at the front or at the back: the chef's habit
In professional kitchens, cooks almost always tie at the front, flat against the stomach, never at the back. A knot at the back presses against your lower back during service and gradually loosens without you noticing. At the front, you feel straight away if it slackens, and you can tighten it in two seconds without help. For a long, wide apron, wrapping the ties twice around your waist before the final knot keeps it from twisting as you move around.

Adjusting the bib so it doesn't pull on your neck
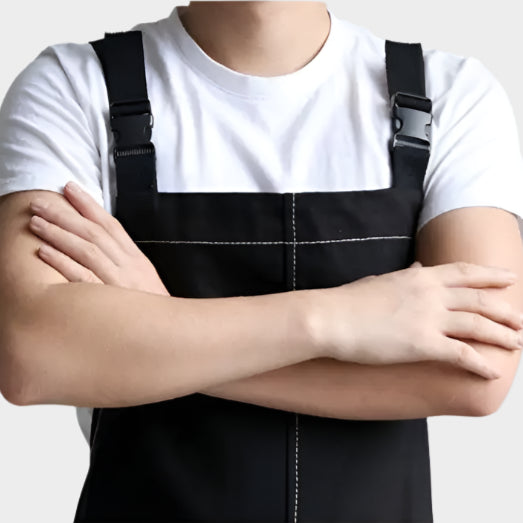
A neck apron that pulls is almost always the result of a neck strap set too short, tightened to make up for a poorly tied waist knot. The right method is the opposite: adjust the neck first, loose enough to slide two fingers between the fabric and your skin, then adjust the waist ties accordingly. On styles with a buckle or button, you set it once and it stays put throughout service. On styles with a simple tie around the neck, you may need to tighten it after the first few washes, as the fabric relaxes slightly.
The Japanese apron, which fastens without ties
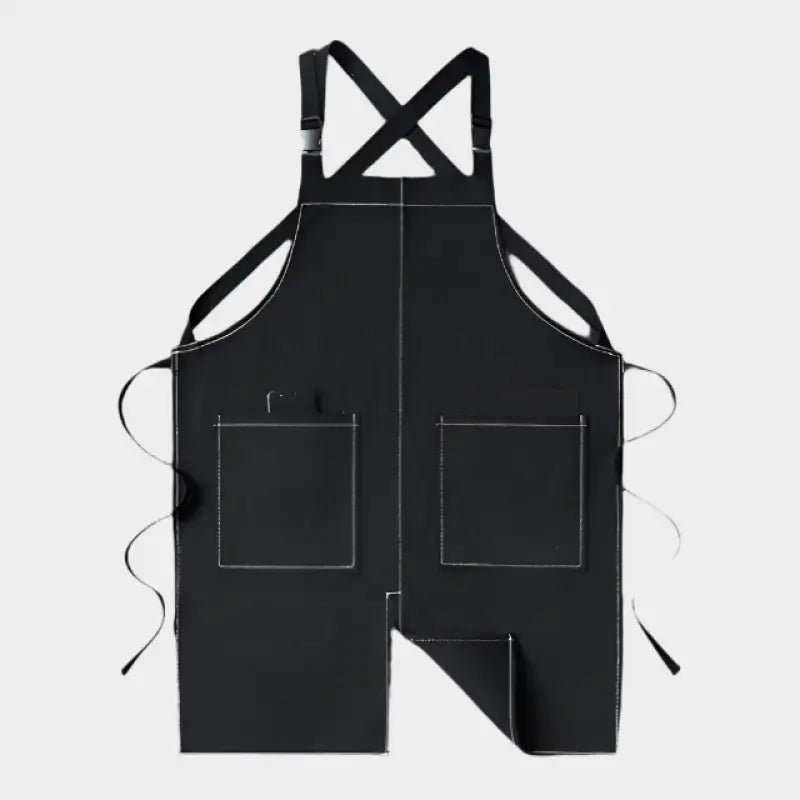
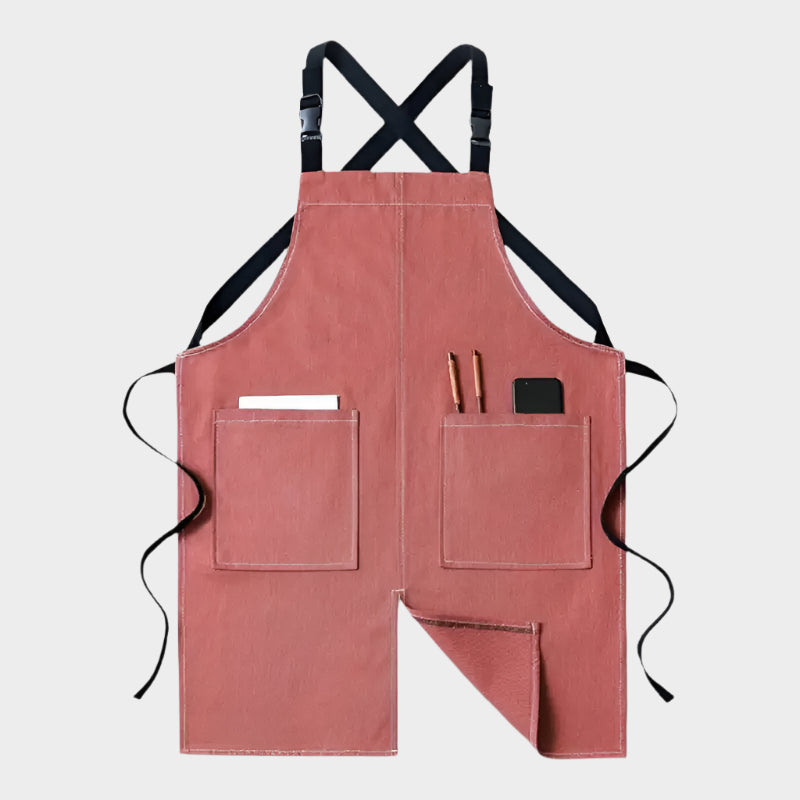
The cross-back Japanese apron doesn't tie at all. The two straps go over your shoulders, cross at the back to form an X, then each strap tucks under the opposite band at waist level, with no buckle or knot. This crossover spreads the weight across both shoulders instead of pulling on one side of the neck, which is why this apron almost never slips, even on a slim frame. Our article on putting on a Japanese apron shows each step in photos.

The Parisian style, with its shorter bib and thin ties, follows the same principle: tied at the front and lying flat. For details specific to this style, our article on the Parisian apron complements this guide.
Frequently asked questions
Should you tie an apron at the front or behind your back?
At the front, ideally. A knot tied at the front, flat against your stomach, stays visible and is easy to tighten during service. A knot at the back presses against your lower back when you sit or lean over and loosens without you noticing, which makes the apron slip as the hours go by.
How do you stop an apron from slipping off your shoulders?
Adjust the neck strap first, loose enough to fit two fingers between the fabric and your skin, before touching the waist ties. A neck strap that is too loose drags the whole bib downward, even with a tight waist knot.
How do you fasten a Japanese apron without ties?
The two straps cross at the back to form an X, then each strap tucks under the opposite band at waist level. There is no buckle or knot to tie, and this crossover spreads the weight of the fabric across both shoulders.
A good apron ties as well as it is cut
A poorly cut apron slips no matter how you knot it, which is why the cut matters as much as the technique: browse our bib-and-tie styles in the kitchen apron collection. For a neck strap that never pulls, the adjustable styles in the neck apron collection remain the simplest everyday choice.
Le Tablier du Chef, kitchen and workwear aprons, online.